Gait Training and Deployment Guide
Description
Reference project:
-
https://github.com/Open-X-Humanoid/TienKung-Lab
This codebase is a reinforcement learning-based motion control system designed specifically for the full-size humanoid robot TienKung. It combines AMP-style rewards with periodic gait rewards, promoting natural, stable, and efficient walking and running behavior.
Built on IsaacLab, the codebase supports Sim2Sim migration to MuJoCo and features a modular architecture for seamless customization and expansion. Furthermore, it integrates light-projection-based sensors to enhance perception, enabling precise interaction with the environment and obstacle avoidance. The framework has been successfully validated on the real TienKung robot.
-
https://github.com/Open-X-Humanoid/Deploy_Tienkung
This codebase contains two directories:
rl_control_newandx_humanoid_rl_sdk.rl_control_newis a ROS2-based reinforcement learning control library for humanoid robots, used to control the Tienkung series of humanoid robots. This library uses reinforcement learning algorithms to implement robot motion control and supports both simulation and real-world robot environments.The other directory,
x_humanoid_rl_sdk, is the Tienkung humanoid robot reinforcement learning control SDK, which includes state machine implementations, robot interfaces, and control algorithms.
This guide, based on the reference project, resolves some compilation and configuration issues.
- Compatible Models:Walker Tienkung (Lite). Walker Tienkung · Voice & Vision (Plus) and Walker Tienkung · Embodied Intelligence (Pro) will be added in Q1 2026.
- Operating System: Ubuntu 22.04 (x86)
- Recommended GPU: Nvidia RTX 30 series and above, 16GB+ VRAM
- Minimum System Configuration: 512GB disk, 16GB RAM
- Note: If git or other resource downloads are slow, it is recommended to use a proxy
Software Package Structure
Download the two packages TienKung-Lab.zip and ros_lite_src.zip and place them in the ~/GTM/soft/ directory.
GTM
  ├── 📂 soft/                                 # Software packages
  │   ├── 📜 TienKung-Lab.zip                  # Gait training package
  │   ├── 📜 ros_lite_src.zip                  # Gait deployment package
Part I: Basic Software
1. CUDA
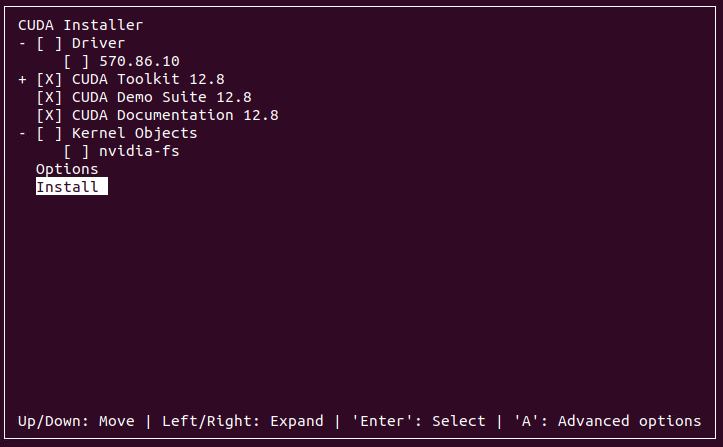
Install CUDA.
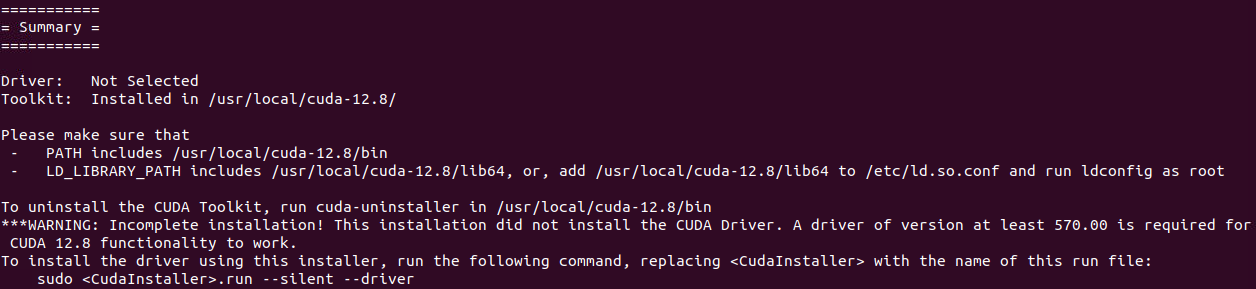
It is recommended to first correctly install the latest Nvidia driver, then use nvidia-smi to check the CUDA version compatible with the driver, and select the corresponding CUDA Toolkit download from https://developer.nvidia.com/cuda-toolkit-archive. This example uses CUDA version 12.8.
cd ~/GTM/soft
wget https://developer.download.nvidia.com/compute/cuda/12.8.0/local_installers/cuda_12.8.0_570.86.10_linux.run
sudo sh cuda_12.8.0_570.86.10_linux.run
# Set environment variables in ~/.bashrc
echo 'export PATH=/usr/local/cuda/bin:$PATH' >> ~/.bashrc
echo 'export LD_LIBRARY_PATH=/usr/local/cuda/lib64:$LD_LIBRARY_PATH' >> ~/.bashrc
# Apply changes immediately
source ~/.bashrc
2. Conda
Install Miniconda, keep selecting yes to complete the installation.
cd ~/GTM/soft
wget https://repo.anaconda.com/miniconda/Miniconda3-latest-Linux-x86_64.sh
bash ./Miniconda3-latest-Linux-x86_64.sh
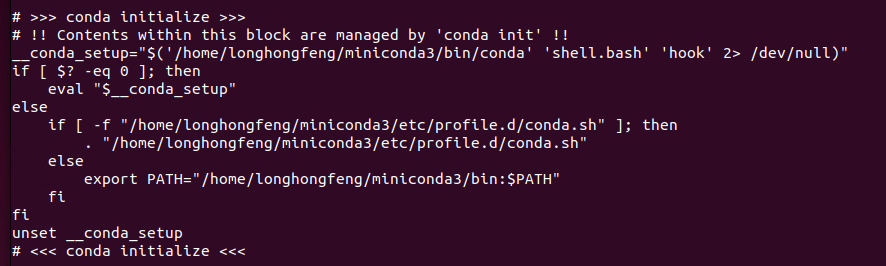
Note: Once installed, check if conda environment variables are set in the .bashrc file.
cat ~/.bashrc
3. IsaacSim
Install IsaacSim 4.5. After downloading and extracting the software package, create the env_isaacsim environment, activate it, and then install.
Reference: https://docs.isaacsim.omniverse.nvidia.com/4.5.0/installation/install_workstation.html
mkdir ~/GTM/soft/isaacsimdir
cd ~/GTM/soft/isaacsimdir
wget https://download.isaacsim.omniverse.nvidia.com/isaac-sim-standalone-4.5.0-linux-x86_64.zip
unzip "isaac-sim-standalone-4.5.0-linux-x86_64.zip" -d ~/GTM/soft/isaacsimdir
conda create -n env_isaacsim python=3.10
conda activate env_isaacsim
./post_install.sh
./isaac-sim.selector.sh
conda deactivate
4. IsaacLab
Install IsaacLab 2.1.0. After downloading and extracting the software package, create the env_isaaclab environment, activate it, and then install.
You can start referring from the "Installing Isaac Lab" section.
sudo apt install git
mkdir ~/GTM/soft/isaaclabdir
cd ~/GTM/soft/isaaclabdir
wget https://github.com/isaac-sim/IsaacLab/archive/refs/heads/release/2.1.0.zip
unzip "2.1.0.zip" -d ~/GTM/soft/isaaclabdir
cd IsaacLab-release-2.1.0
ln -s ~/GTM/soft/isaacsimdir ~/GTM/soft/isaaclabdir/IsaacLab-release-2.1.0/_isaac_sim
./isaaclab.sh --conda env_isaaclab
conda activate env_isaaclab
sudo apt install cmake build-essential
./isaaclab.sh --install
conda deactivate
Special Note for RTX 50 Series GPUs: please use the latest PyTorch nightly version instead of the PyTorch 2.5.1 bundled with Isaac Sim. Note that cu128 in the URL must match your CUDA version.
~/GTM/soft/isaaclabdir/IsaacLab-release-2.1.0/isaaclab.sh -p -m pip install --upgrade --pre torch --index-url https://download.pytorch.org/whl/nightly/cu128
Part II: Gait Training & Deployment
Using TienKung-Lab open-source framework for gait training
1. Extract Code
cd ~/GTM/soft/
unzip TienKung-Lab.zip
2. Environment Installation
-
Install the PyTorch version compatible with your CUDA. For example, you can go to https://mirrors.nju.edu.cn/pytorch/whl/ to check the corresponding version, then update the corresponding pip command. Note that [cu128] in the URL must match your CUDA version.
-
All subsequent commands require activating the
env_isaaclabenvironment withconda activate env_isaaclabto run properly.
conda activate env_isaaclab
cd ~/GTM/soft/TienKung-Lab
pip install -e .
pip install -U --index-url https://mirrors.nju.edu.cn/pytorch/whl/cu128/ torchvision==0.24.0 torch==2.9.0
pip uninstall -y rsl-rl-lib || true
cd ~/GTM/soft/TienKung-Lab/rsl_rl
pip install -e .
pip install onnxscript
3. Training
Parameters:
--task: Task type (options:walk,run)--headless: Train without GUI display--num_envs: Number of robot instances in the scene
The current software package supports the Lite model; Plus and Pro models will be added in Q1 2026.
cd ~/GTM/soft/TienKung-Lab

python legged_lab/scripts/train.py --task=walk --headless --logger=tensorboard --num_envs=2048
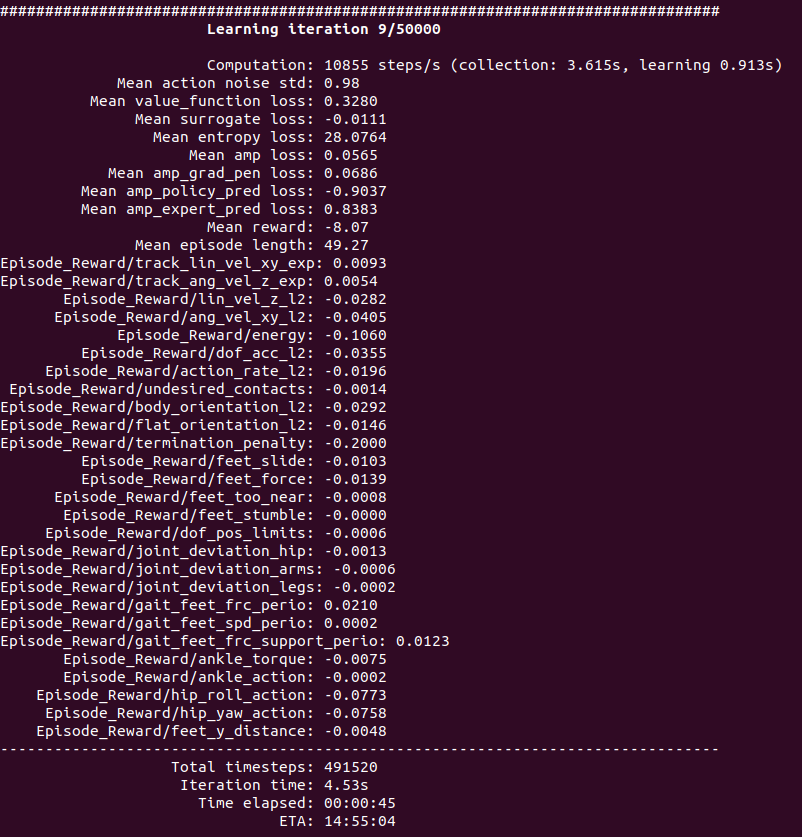
Model location: ~/GTM/soft/TienKung-Lab/logs/walk/xxxx/model_xxx.pt, where the .pt file is the model, and xxxx is a timestamp-named folder created when training starts.
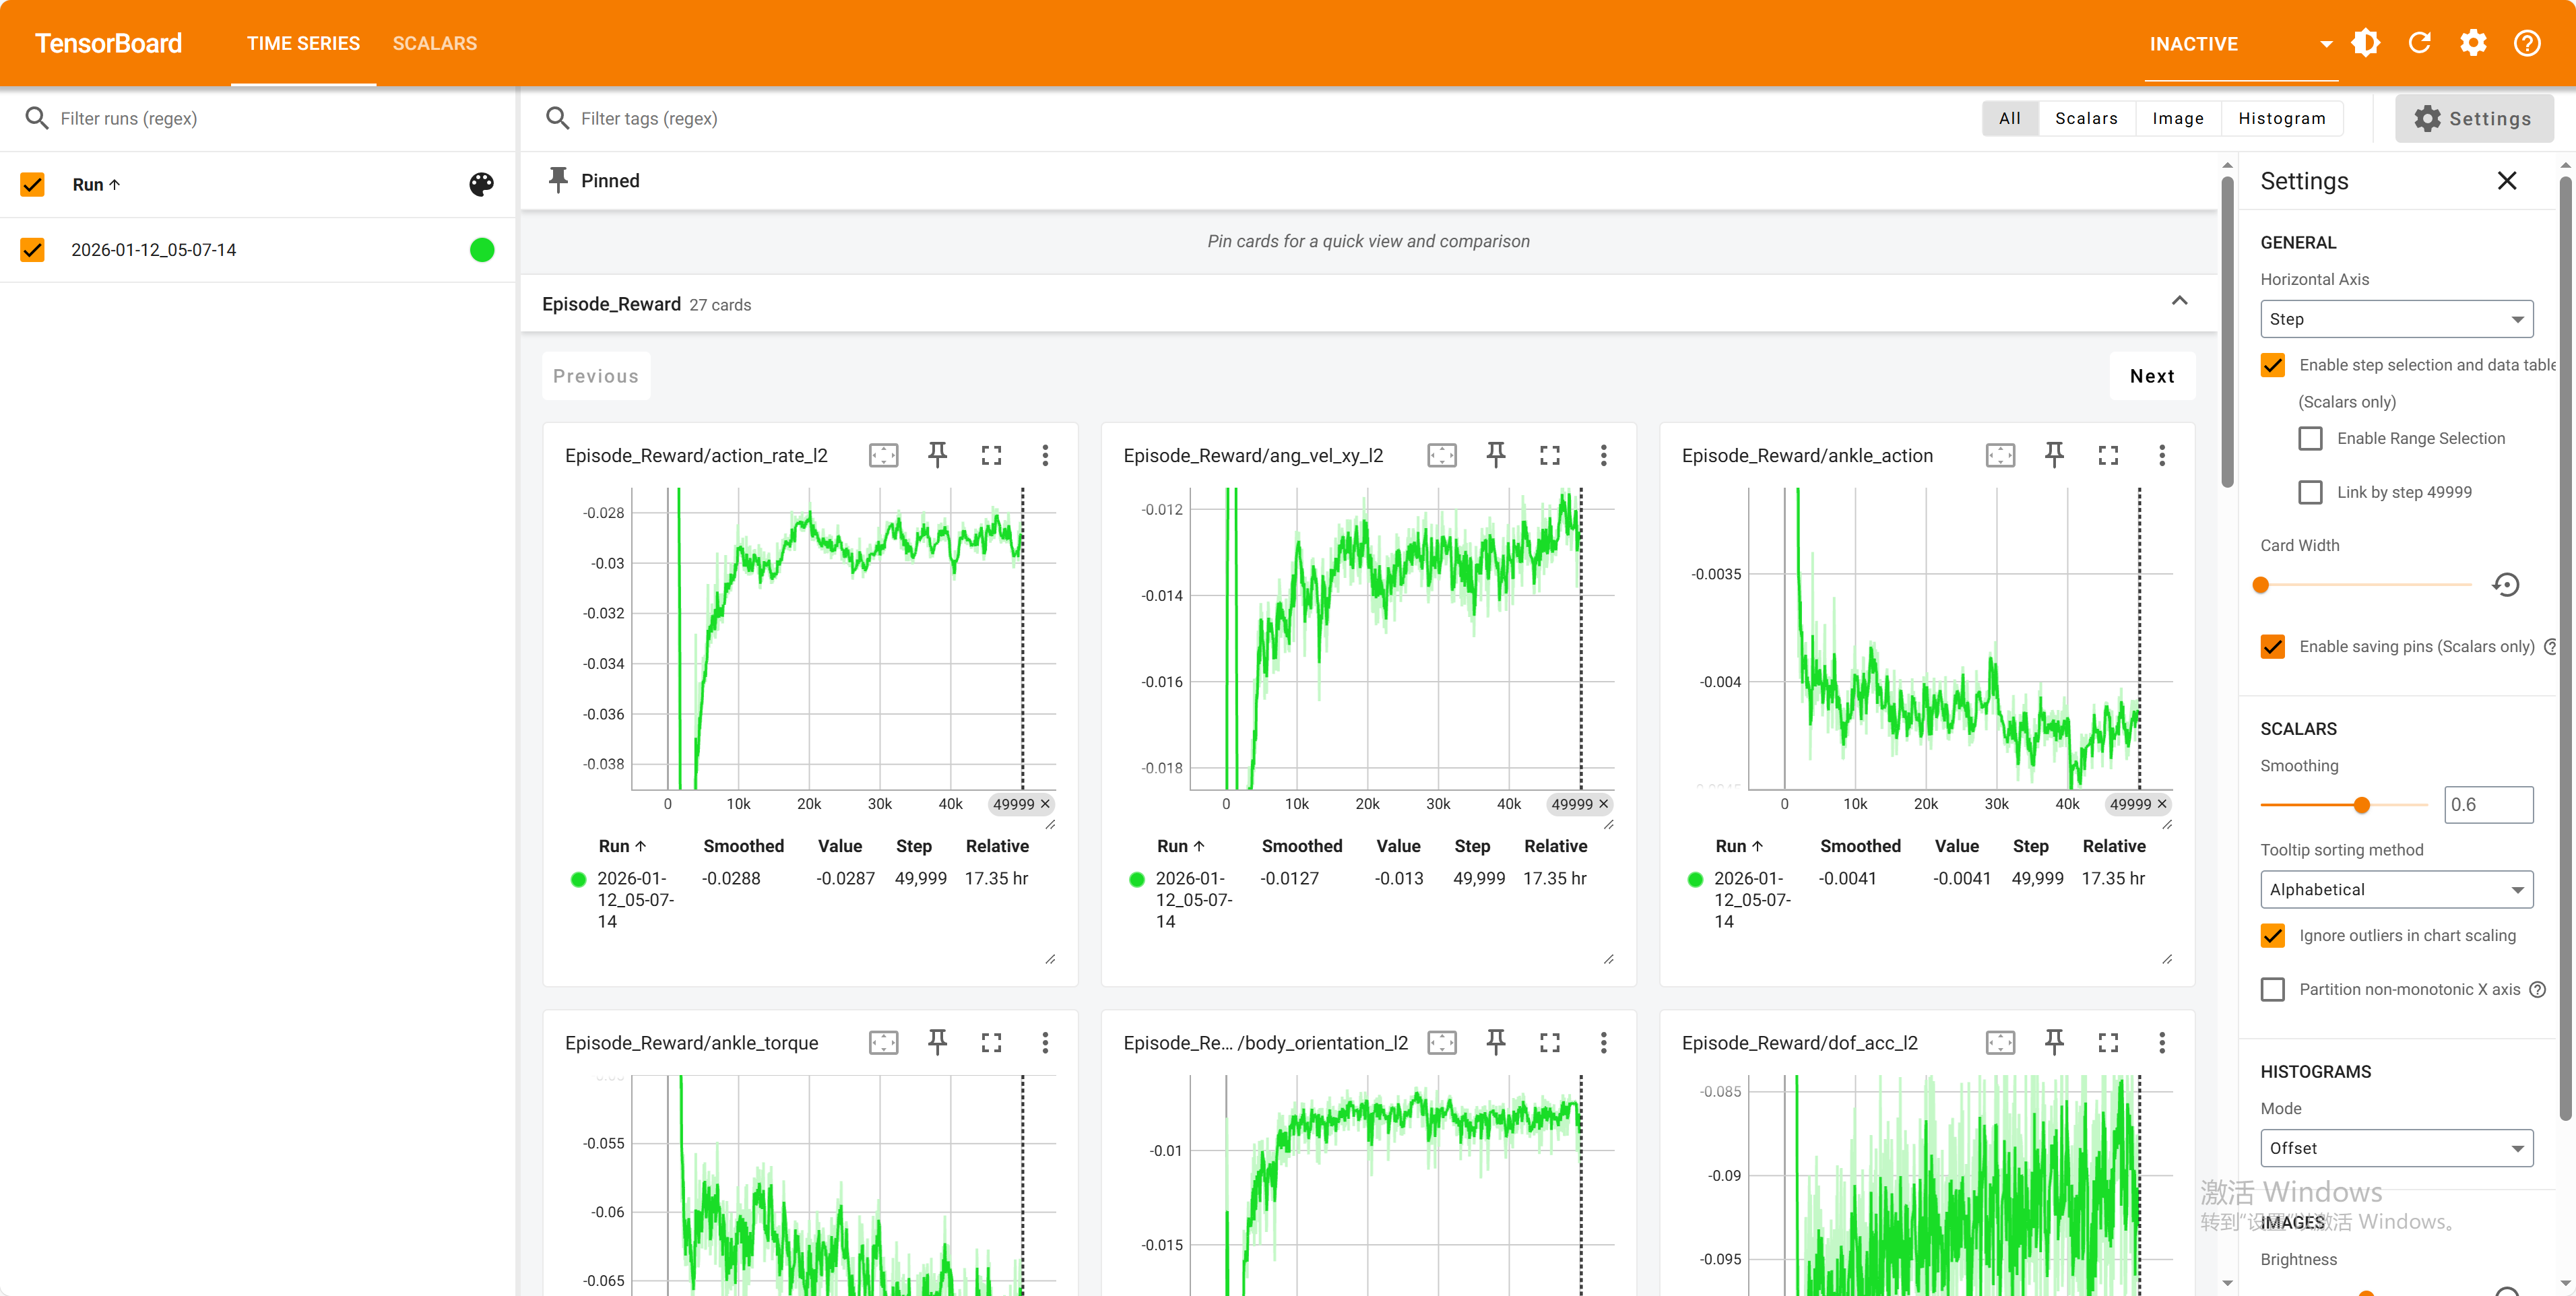
Open a new terminal to check the training status:
conda activate env_isaaclab
cd ~/GTM/soft/TienKung-Lab
tensorboard --logdir=logs/walk

4. Resume Training
cd ~/GTM/soft/TienKung-Lab
mkdir ~/GTM/soft/TienKung-Lab/logs/walk/pretrained
# Copy the PT file to folder【pretrained】
python legged_lab/scripts/train.py --task=walk --headless --logger=tensorboard --num_envs=2048 --resume=True --load_run=pretrained --checkpoint=model_8100.pt
5. Execution
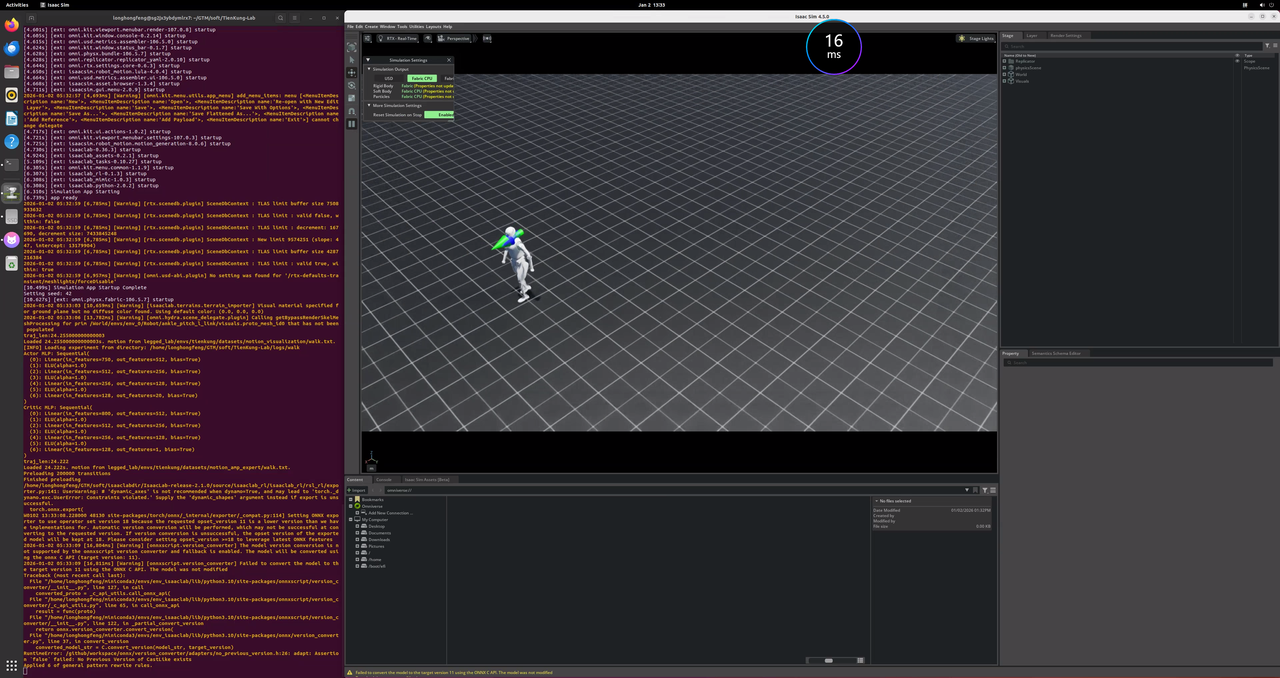
Run the trained policy.
cd ~/GTM/soft/TienKung-Lab
mkdir ~/GTM/soft/TienKung-Lab/logs/walk/exe
# Copy the PT file to folder【exe】
python legged_lab/scripts/play.py --task=walk --num_envs=1 --load_run=exe --checkpoint=model_8100.pt
6. Sim2Sim (MuJoCo)
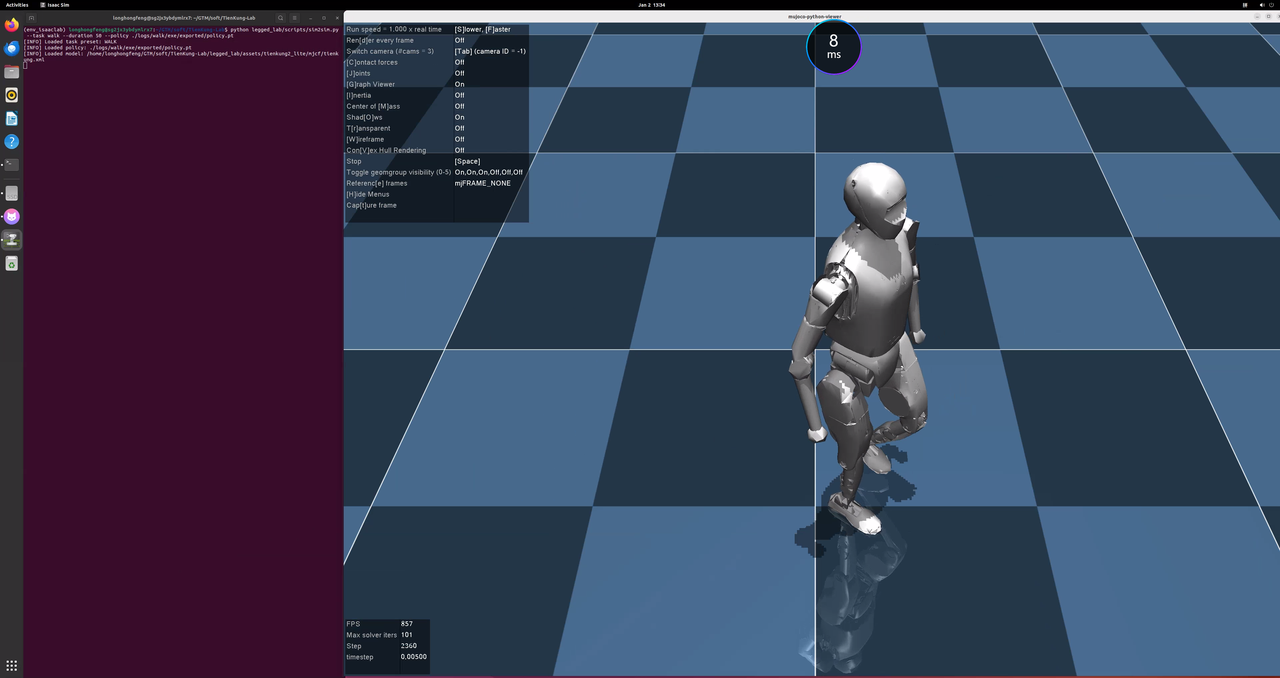
Run MuJoCo simulation with the trained policy:
cd ~/GTM/soft/TienKung-Lab
python legged_lab/scripts/sim2sim.py --task walk --duration 50 --policy ./logs/walk/exe/exported/policy.pt
7. Model Conversion
Use OpenVINO for model conversion to obtain .bin and .xml files
cd ~/GTM/soft/
unzip ros_lite_src.zip -d ros_lite
cd ~/GTM/soft/TienKung-Lab
pip install openvino
ovc logs/walk/exe/exported/policy.pt --output_model logs/walk/exe/exported/
8. Deployment
Copy the converted .pt、.bin、.xml files to the ~/GTM/soft/ros_lite/install/rl_control_new/share/rl_control_new/config/policy/ directory.
cd ~/GTM/soft/TienKung-Lab/logs/walk/exe/exported/
cp policy.pt policy.bin policy.xml ~/GTM/soft/ros_lite/install/rl_control_new/share/rl_control_new/config/policy/
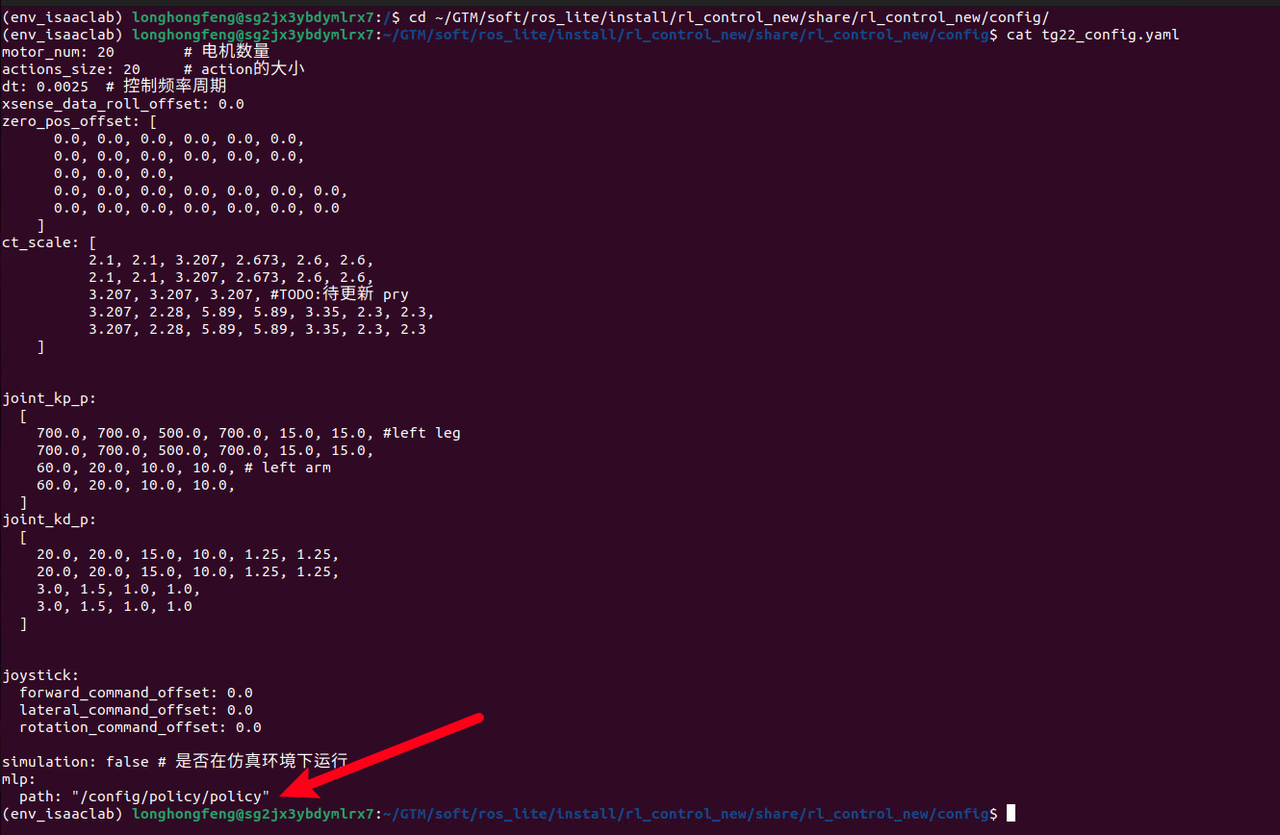
Ensure that mlp.path in the configuration file ~/GTM/soft/ros_lite/install/rl_control_new/share/rl_control_new/config/tg22_config.yaml points to the correct name of the model you just trained; no suffix is needed.
For example, if the trained model files include policy.pt, policy.bin, and policy.xml, then the value of mlp.path in the configuration file should be set to /config/policy/policy.
cd ~/GTM/soft/ros_lite/install/rl_control_new/share/rl_control_new/config/
cat tg22_config.yaml
9. Deployment of real devices
Package the entire ~/GTM/soft/ros_lite directory on the training machine, place it on the x86 board of Tiangong Xingzhe (192.168.41.1), and unzip it in the /home/ubuntu/ directory. At this point, the gait training model has been deployed to the Tiangong real machine.
10. Testing
- On the x86 board at 192.168.41.1, ensure that the robot's auto-start service is disabled.
sudo systemctl status proc_manager.service - Check if the service status is disabled; if not, disable it manually.
Then power off and restart the entire robot, and wait for the restart to complete.
sudo systemctl disable proc_manager.service - Manually start the body_control on the x86 board with IP address 192.168.41.1.
tmux
sudo su
cd ros2ws
source install/setup.bash
ros2 launch body_control body.launch.py - Launch another terminal to initiate the reinforcement learning operation and control for this training session.
 tmux
 cd ~/ros_lite
 source install/setup.bash
 ros2 launch rl_control_new rl.launch.py
Since this is a newly trained model, the results cannot be guaranteed, so safety must be ensured:
- The robot must be connected to the transfer machine with a rope. The rope should not be too loose to prevent the robot from falling too forcefully in an emergency and causing danger.
- And there is another person ready to press the emergency stop button at any time.
Then, under the premise of ensuring safety, you can gradually use the remote control to operate the robot to return to zero, stand up, and walk.
Reference:https://github.com/Open-X-Humanoid/Deploy_Tienkung/tree/main/rl_control_new