3. Running(Beta)
This is a beta version for internal use only. Regular users should not operate it to avoid damaging the robot.
You can also refer to 【Documentation】, this document is also summarized from that documentation. It is recommended to first briefly browse through this document, and then refer to 【Documentation】 when encountering problems
Understand the services
After the previous installation steps, the service scripts that need to be started are all on the 41.2 orin board, which means the following scripts and corresponding programs are all in the /home/nvidia/tien_project/start_process/tienkung/ directory:
1. Script to start the main service
start_tienkung2pro.sh
This starts the main service on the Tiankung x86 board, motion control service, camera service on the 41.2 orin board, etc.
2. Script to stop the main service
stop_tienkung2pro.sh
Note: After executing this script, both the main service and motion control service will stop, and Tiankung will immediately fall to the ground. Therefore, this script must be executed after Tiankung has been stopped by the remote controller button C and has been fixed on the moving platform.
3. Server side of the grasping controller
start_server_tienkung.sh
After starting, it will first ask about the current arm status of Tiankung. After correct selection and smooth execution, Tiankung's arm will be raised to a position suitable for grasping. Then it can accept commands from the grasping controller client.
4. Client side of the grasping controller
start_client.sh
After starting, it will require input of the object to be grasped, then select the placement location.
Starting the main service
Starting
Before starting, please SSH to 41.1, which is the x86 board, and ensure that the proc_manager service is disabled:
sudo systemctl status proc_manager.service
If it is enabled, you need to disable it first:
sudo systemctl disable proc_manager.service
Then, restart the robot only after ensuring safety. Ensure all states have been reset.
Ensure the robot has been powered on and started up, and then SSH into the Orin board on 41.2. Execute the following command:
cd /home/nvidia/tien_project/start_process/tienkung/
bash start_tienkung2pro.sh
Need to wait for a period of time. When the screen displays as shown below, the startup is complete, and then execute Control B + d to run in the background.
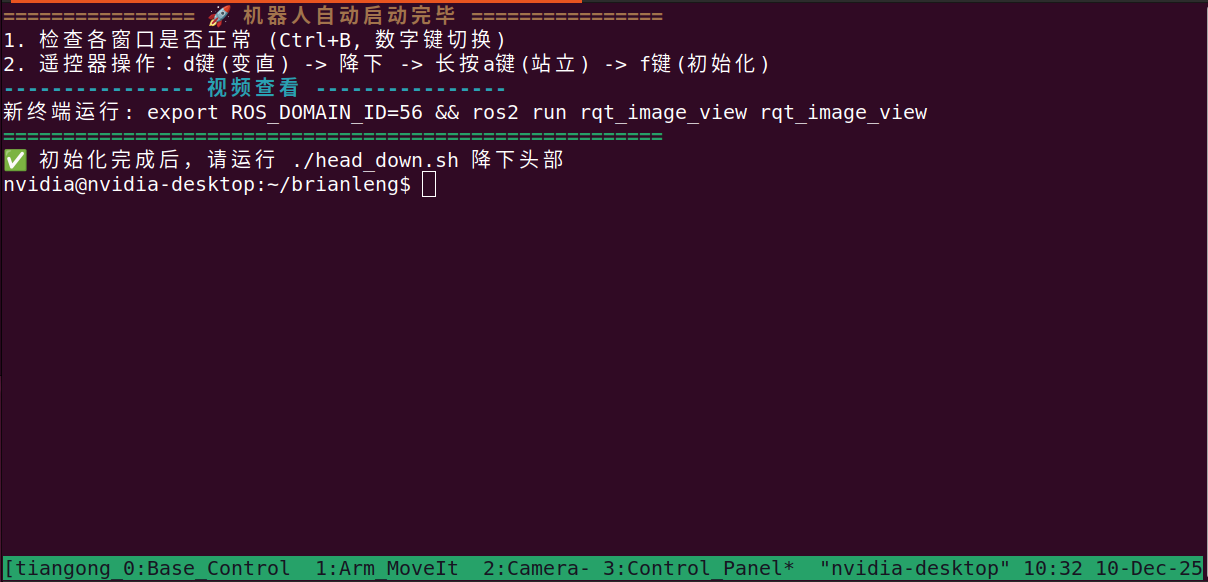
(Optional) Check if the video stream is stable on the local machine:
export ROS_DOMAIN_ID=56
ros2 run rqt_image_view rqt_image_view
Checking execution
On the startup screen, use Control B + number to switch to the corresponding Panel:
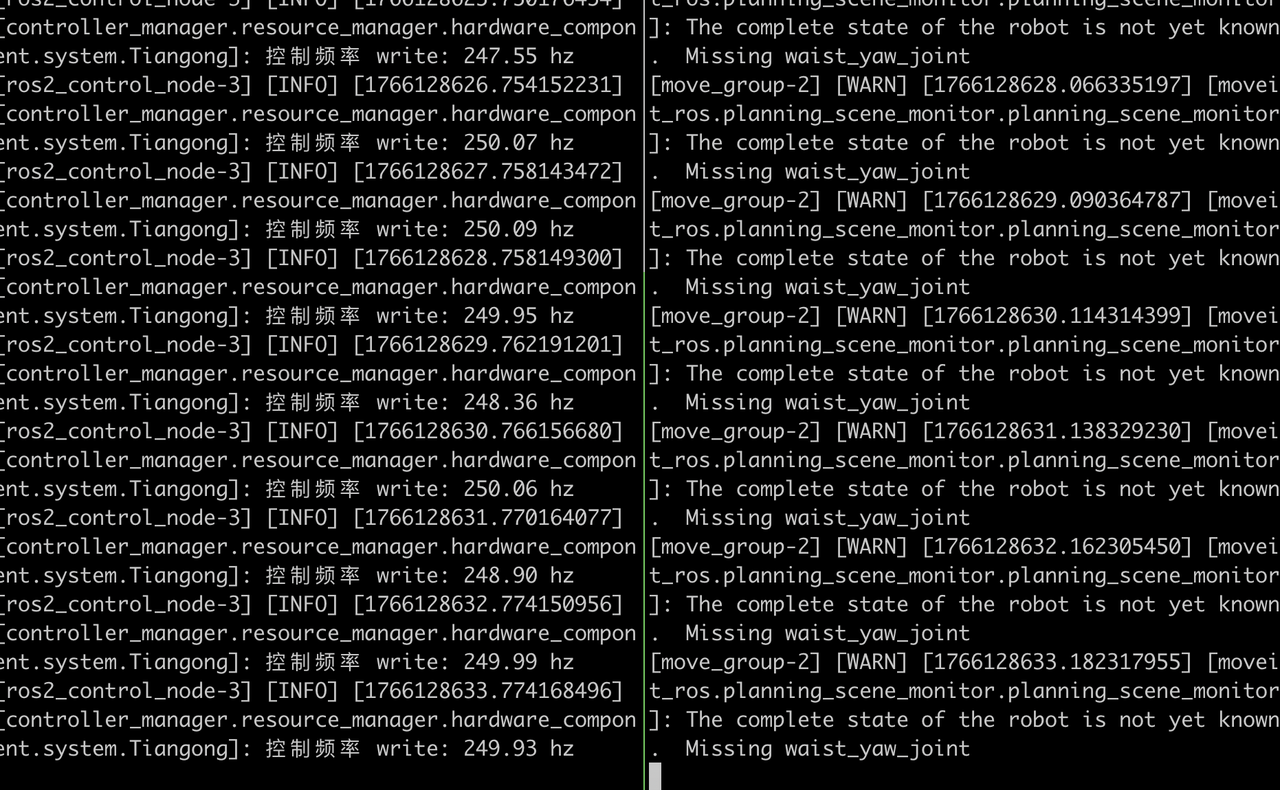
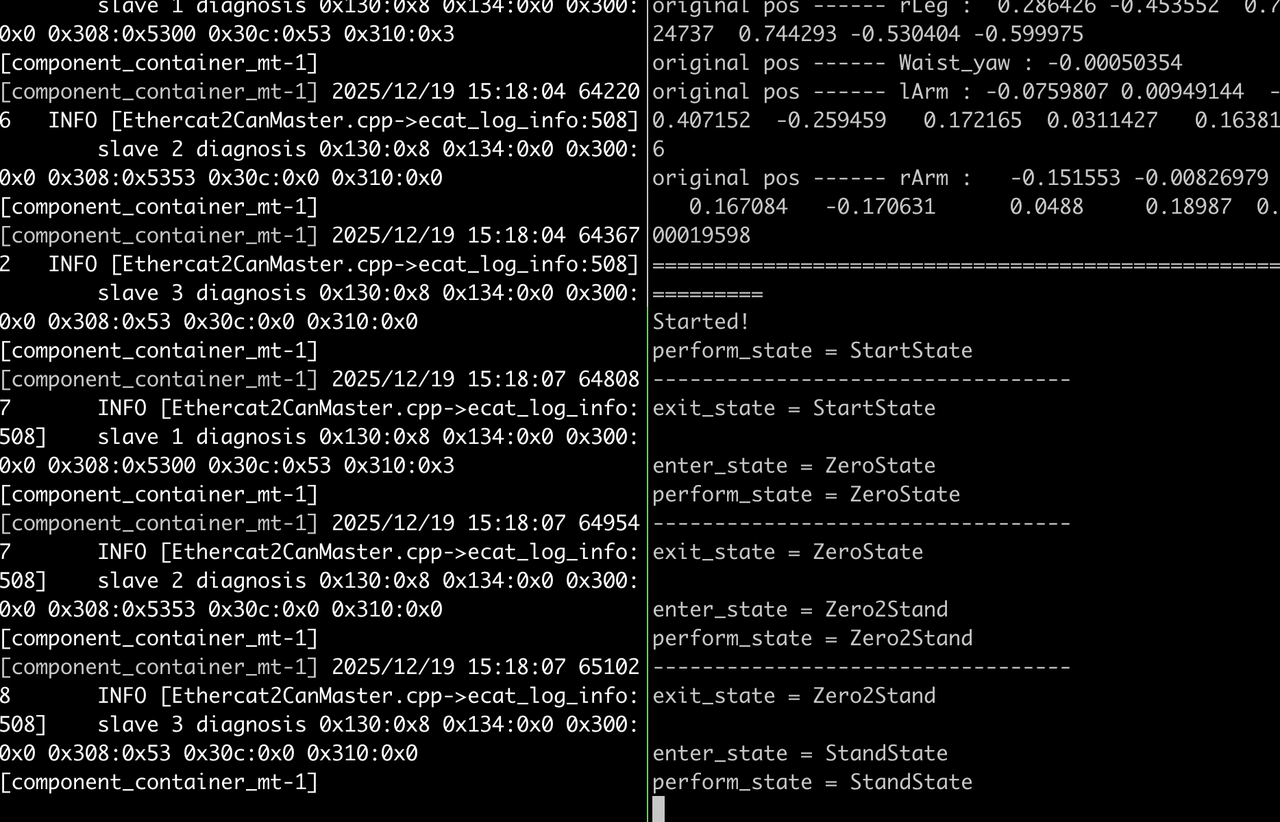
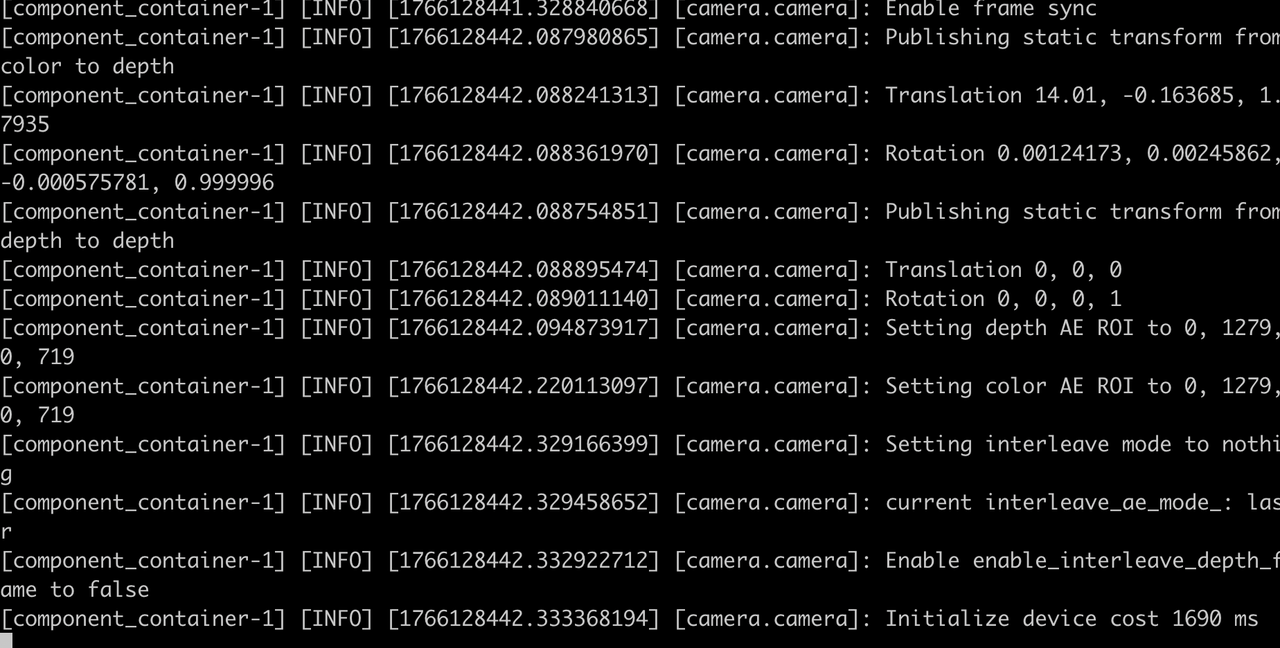
If the display shows the content in the screenshots, there is no problem (should be no problem. If there is a problem, there is a missing or abnormal system dependency. Please check if ros-humble-xacro, ros-humble-backward-ros and other ros-humble packages are installed)
If the terminal output of Control B 1 is as follows:
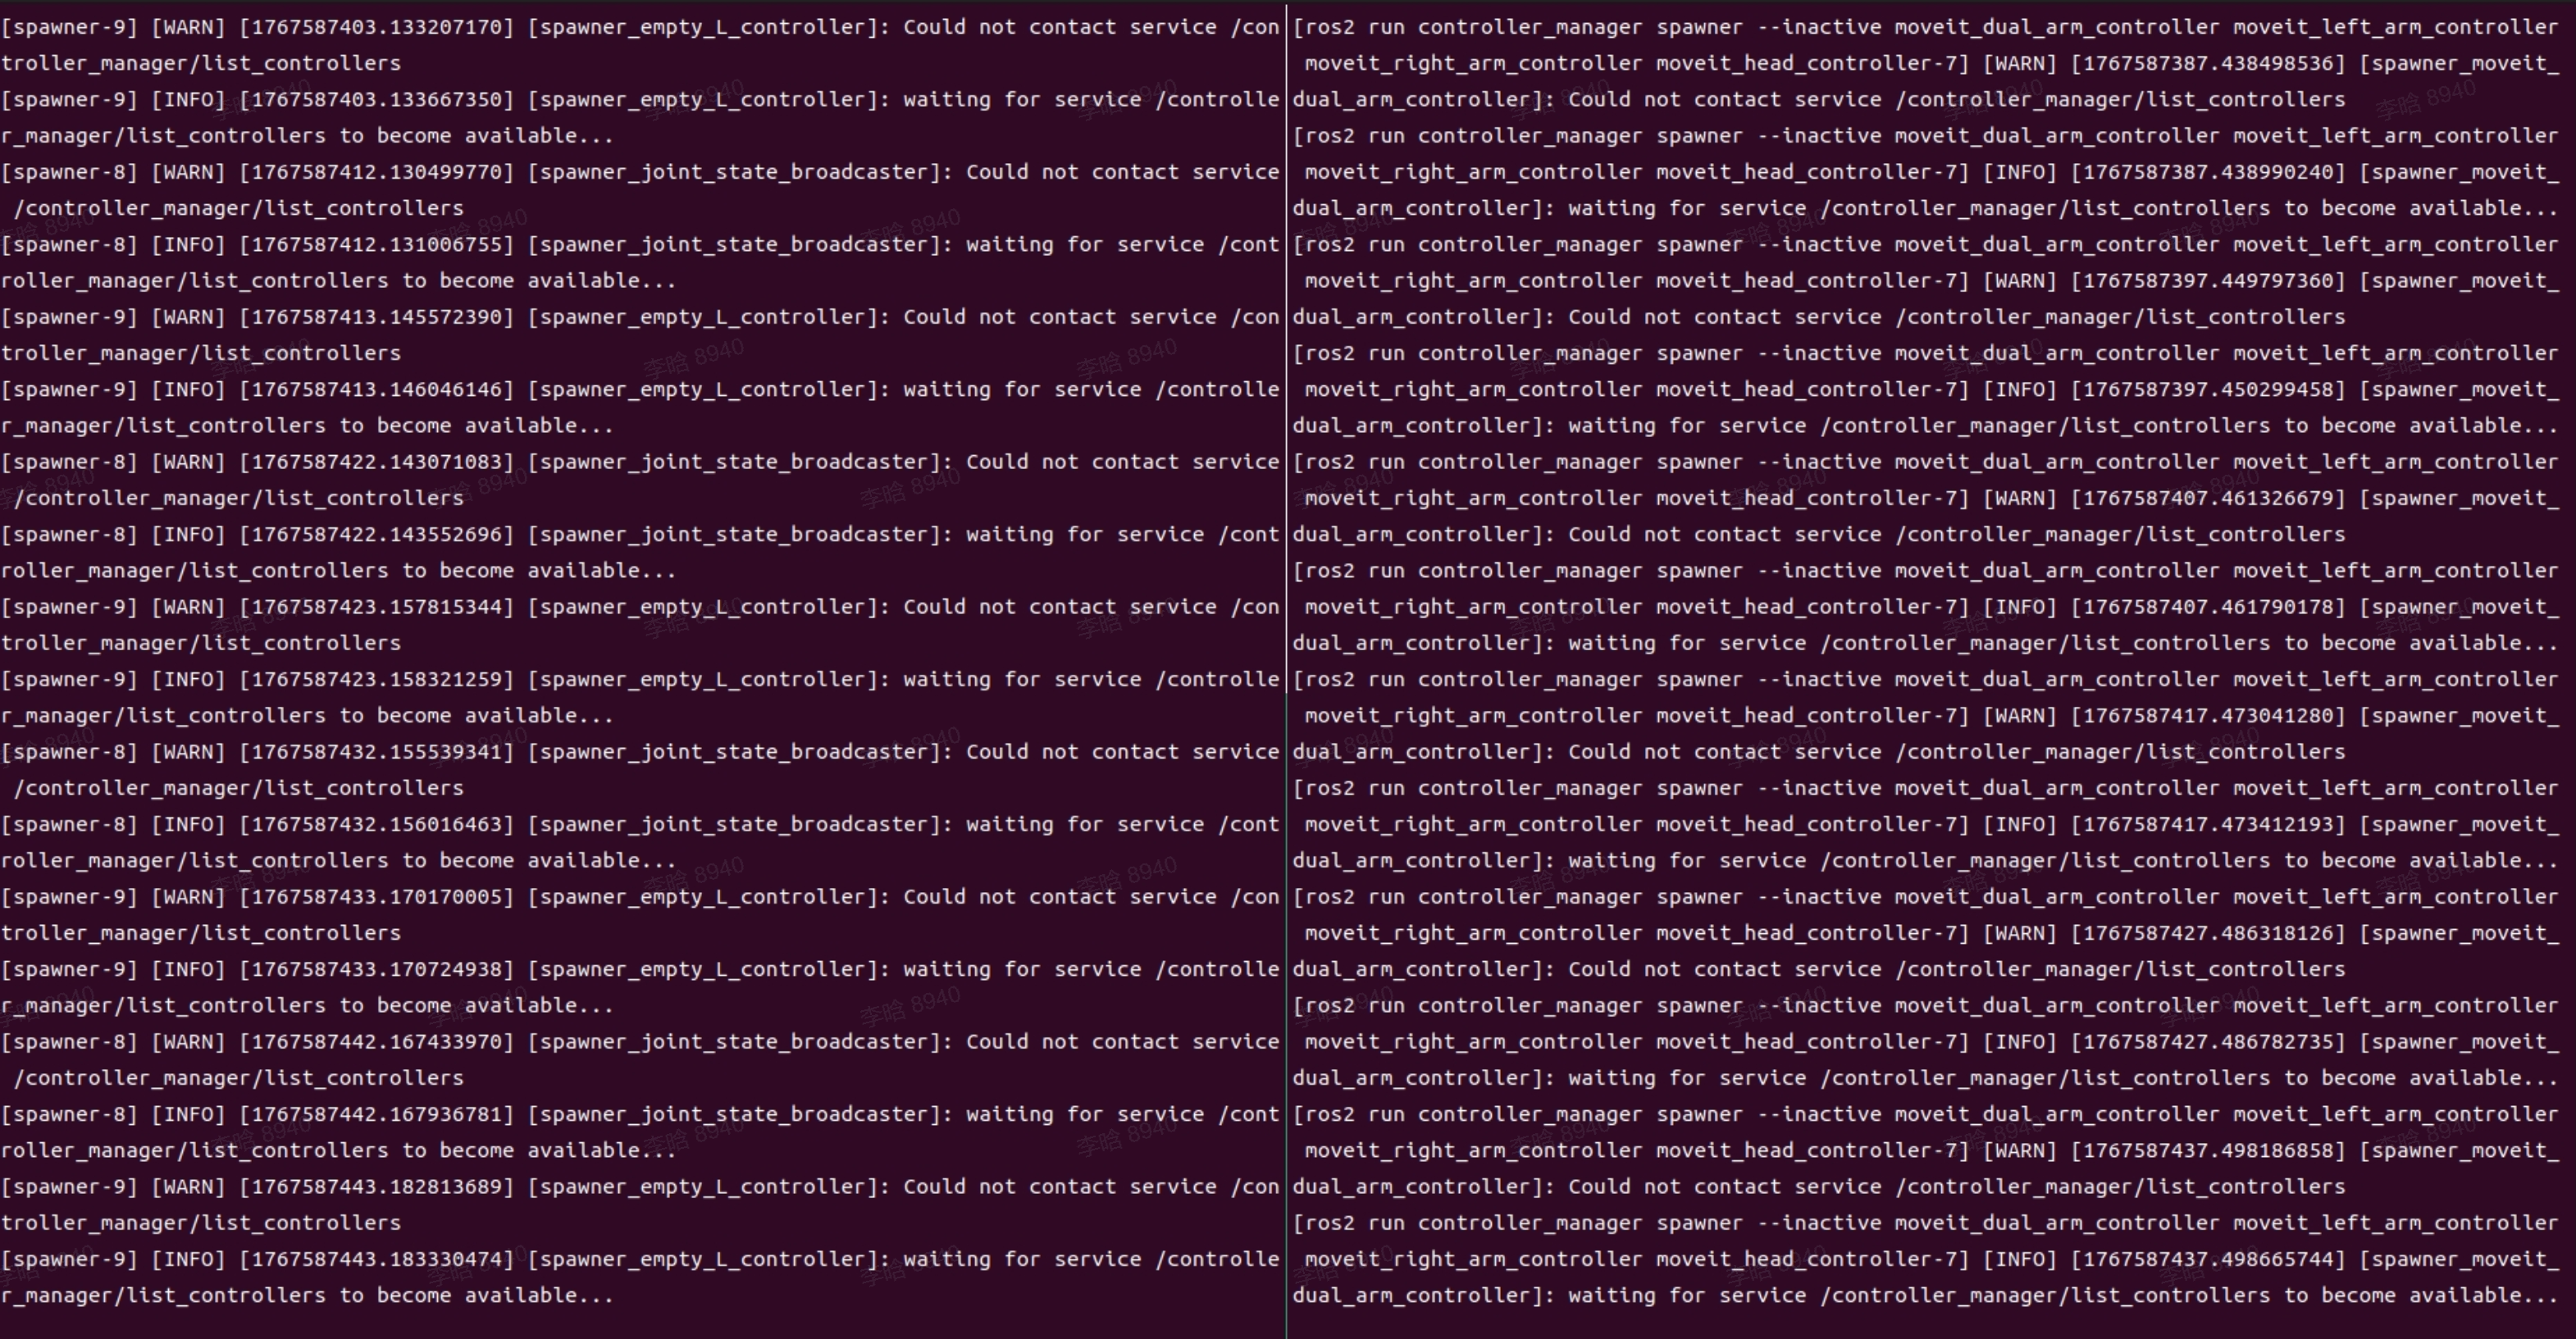
It is highly likely that the XARM installation failed on the x86 board in step 41.1. You can refer to the 【Installation Document】 and enter 4 to reinstall XARM on the x86 board.
Background execution: Contrl B + d
If you want to enter and view again: tmux attach -t tiangong_robot
Robot landing and standing (requires remote controller)
The robot is hanging on the moving platform, with both feet ensured to be about 10 cm off the ground; various keys on the remote controller that can be toggled, such as f and e keys, are all in the center position
- Turn on the remote controller switch
- Legs straighten and land: Press the d key on the remote controller, the robot's legs will automatically straighten
- Robot landing: Lower the rope from the moving platform so that the robot's feet stand on the ground and are not pulled by the rope
- Robot standing: Long press the a key on the keyboard until the robot stands stably (after releasing, confirm that the posture is not tilted)
Robot entering half-body control mode (requires remote controller)
By default, the robot is in full-body motion control mode. Follow the steps below:
- Tiankung has entered standing state
- Key step (cannot be ignored): Toggle down the f key on the remote controller to complete the initialization configuration after robot startup
- Long press A again, until you hear a beep sound
- Then toggle up E to enter half-body control
Starting the server of the grasping controller
Note, before starting the server of the grasping controller, please ensure the robot has entered half-body control mode! If the server of the grasping controller is started before entering the half-body control mode, the robot will make a loud noise and the arm will not move, and the robot may even be damaged!
Open a new terminal and execute the following command:
cd ~/tien_project/start_process/tienkung
bash start_server_tienkung.sh
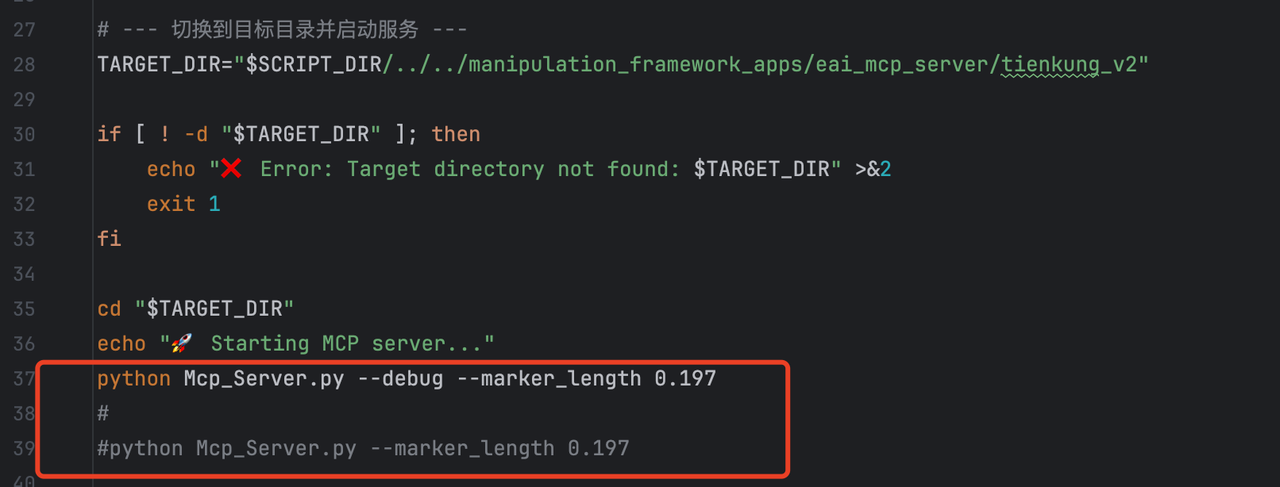
By default it runs in debug mode. During the execution process, there will be prompts that can be checked.
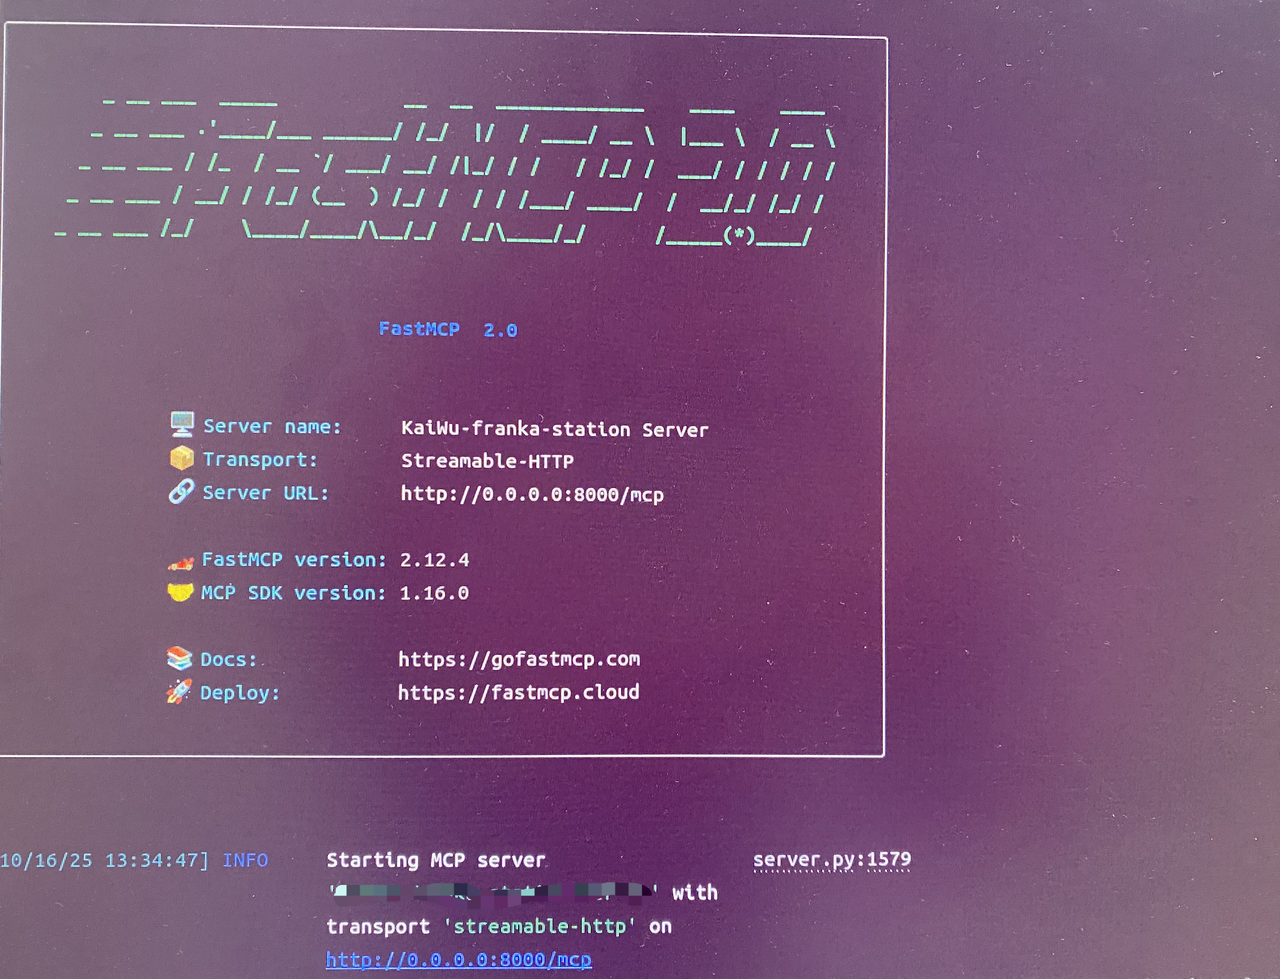
Observe the current terminal print. If the words as shown in the figure below appear, it means the server is currently executing successfully and can wait for subsequent calls
Command line options after running
-
Use up and down keys to select, use space to select/deselect
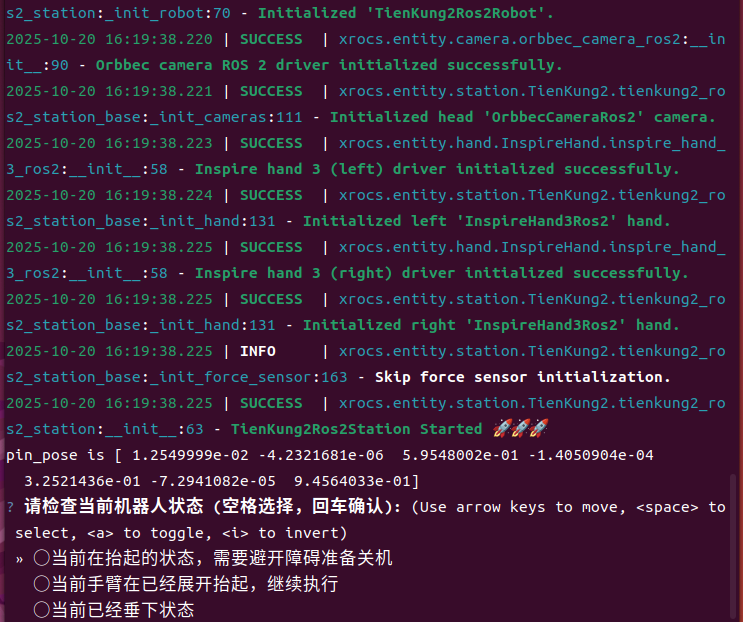
Need to check the current initial state of the robot's robotic arm
-
If after grasping execution, the arm is raised or above the table, need to power off or not use it, select the first line
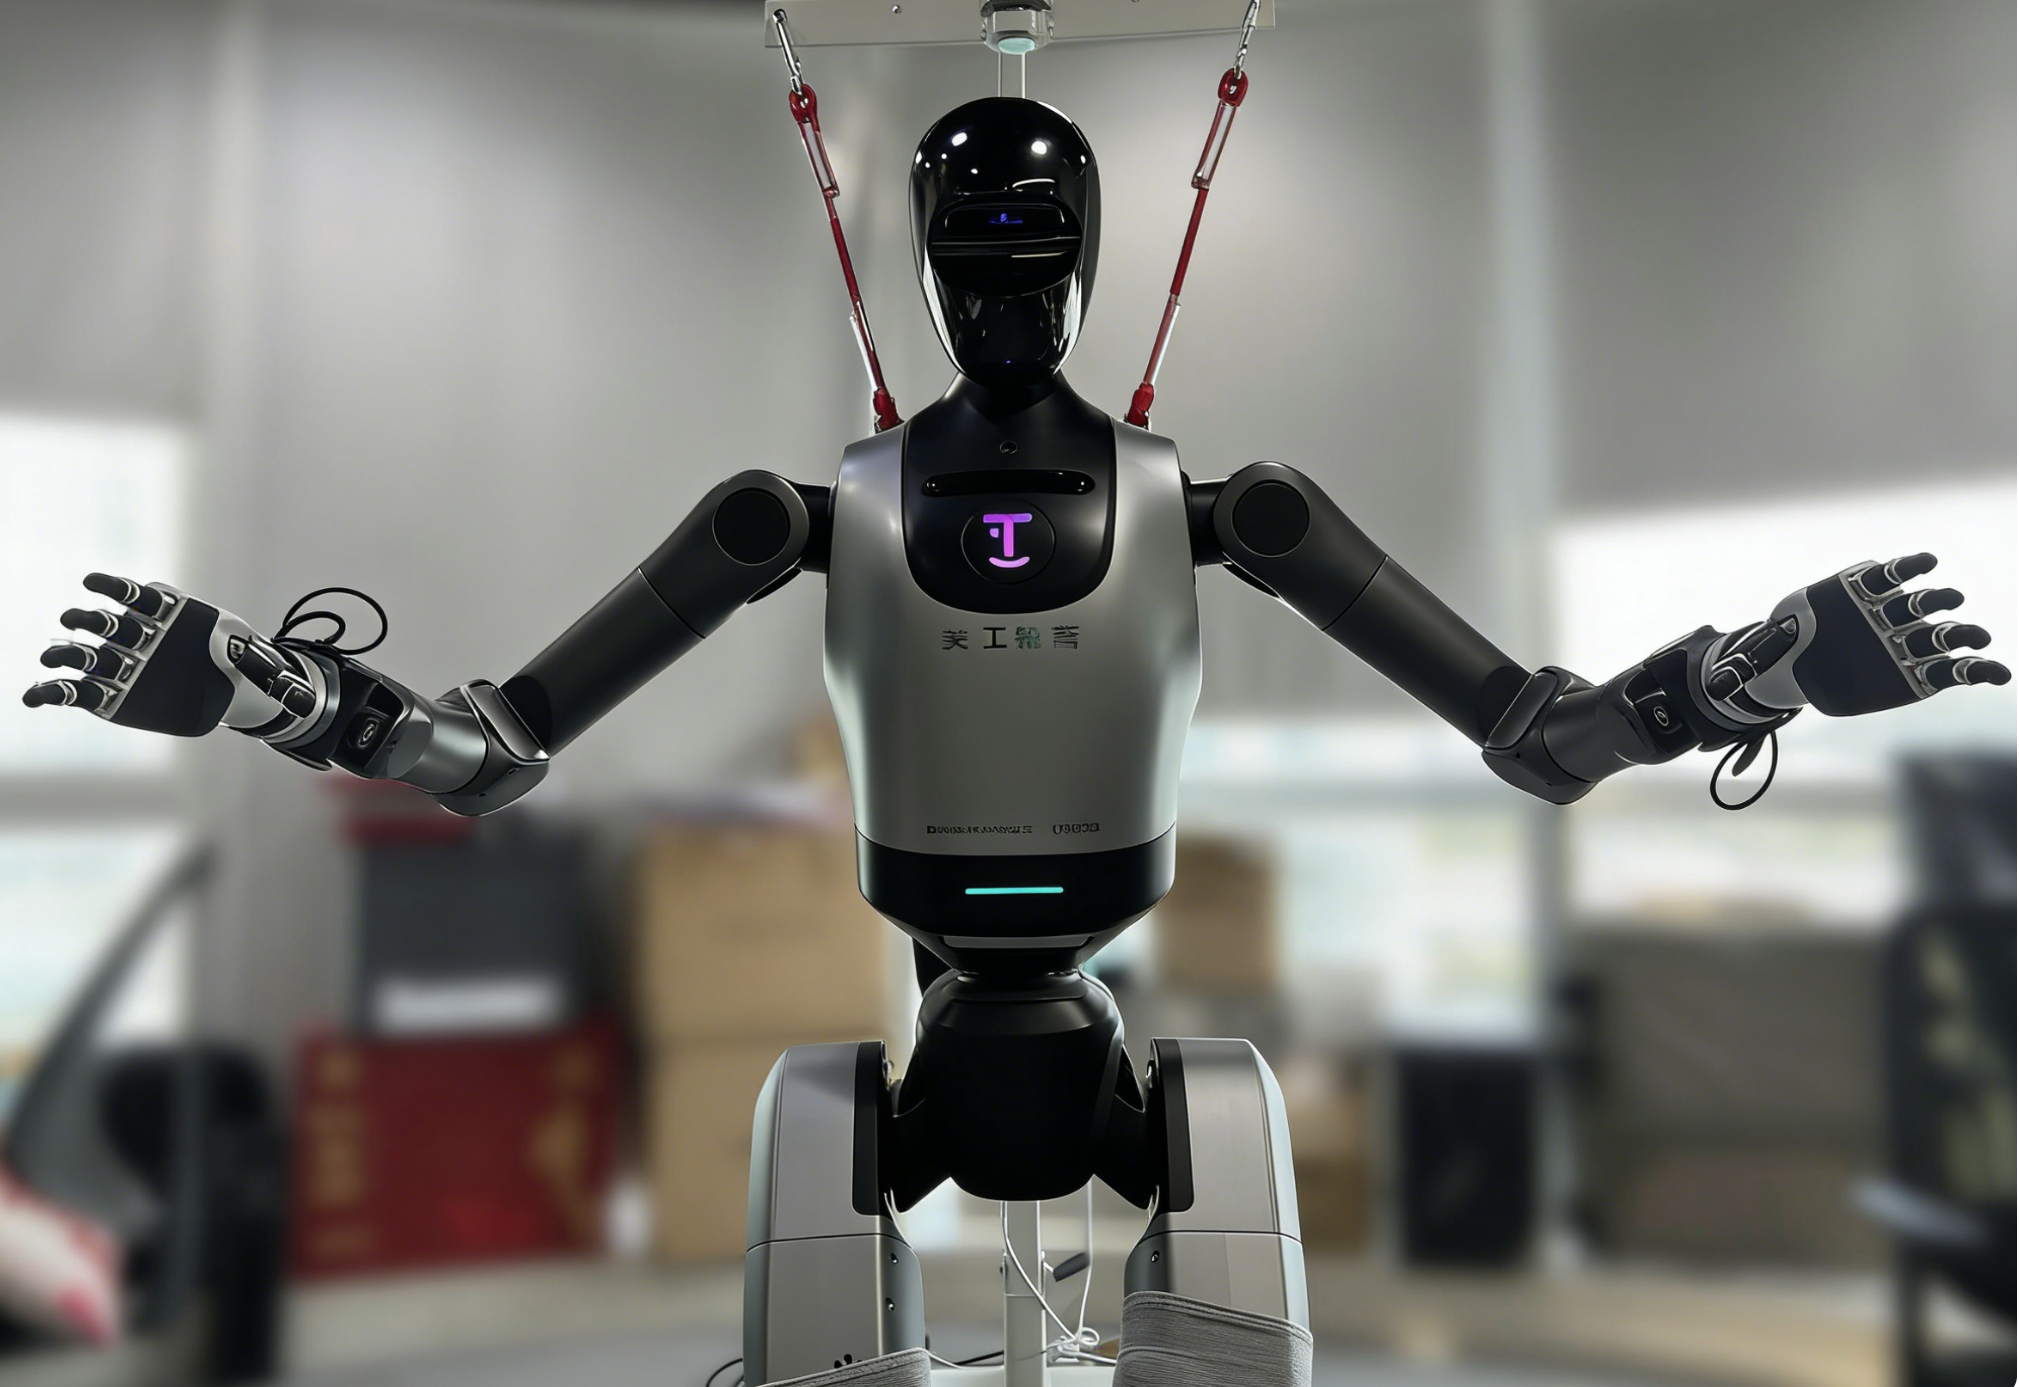

-
If the arm is already raised or above the table, need to perform grasping operation, select the second line
-
If the arm is hanging down, need to start grasping execution, select the third line
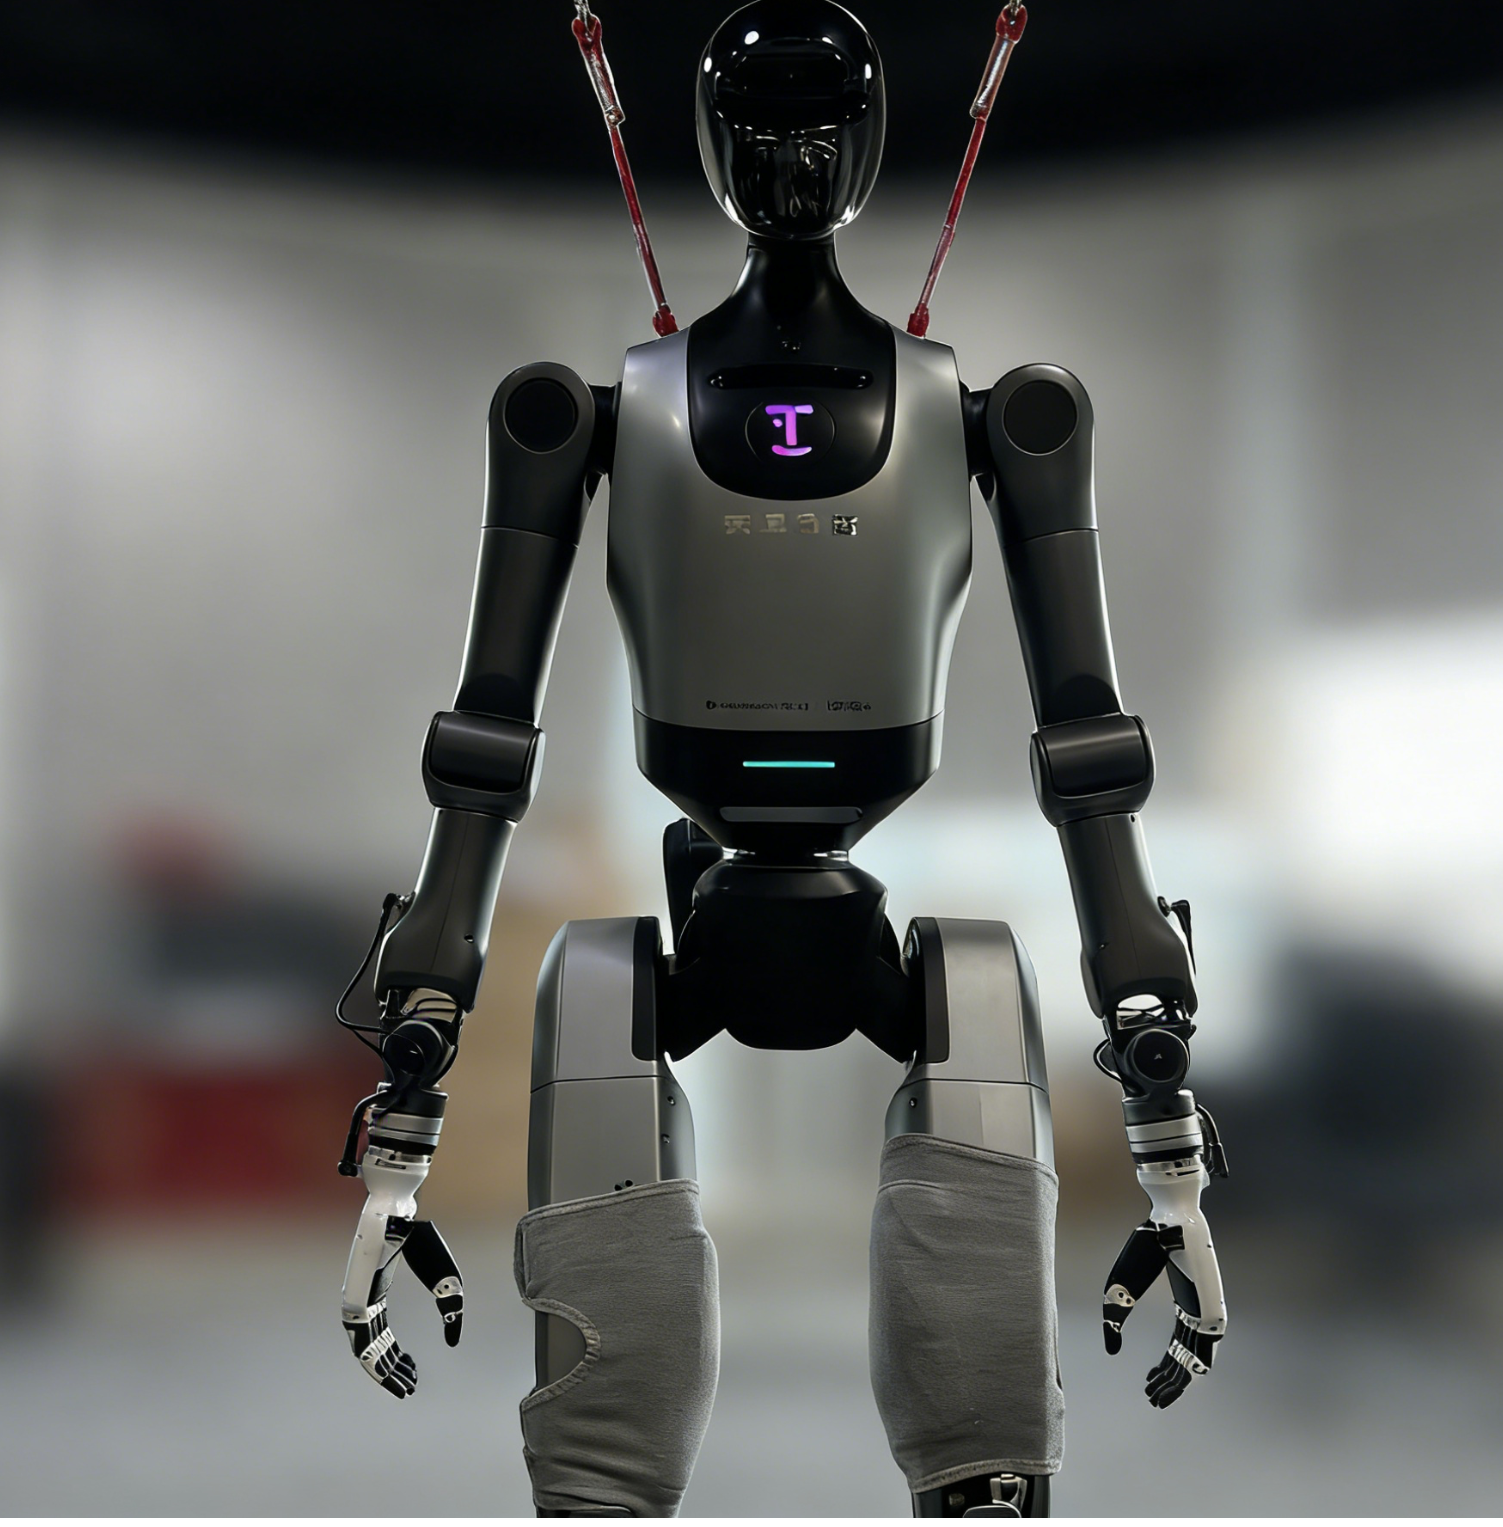
-
-
Whether to calibrate the desktop

-
The simplest way is not to calibrate, directly select the second line. But need to ensure the desktop height is not lower than the thinnest position of the robot's waist, that is, the waist servo position. If the table is not high enough, you can find objects to raise it
-
If you have been using it continuously, also select the second line
-
If using for the first time, or the desktop in front has been changed or adjusted in height, select the first line

Put the provided QR code on the desktop as prompted, then input y from the command line
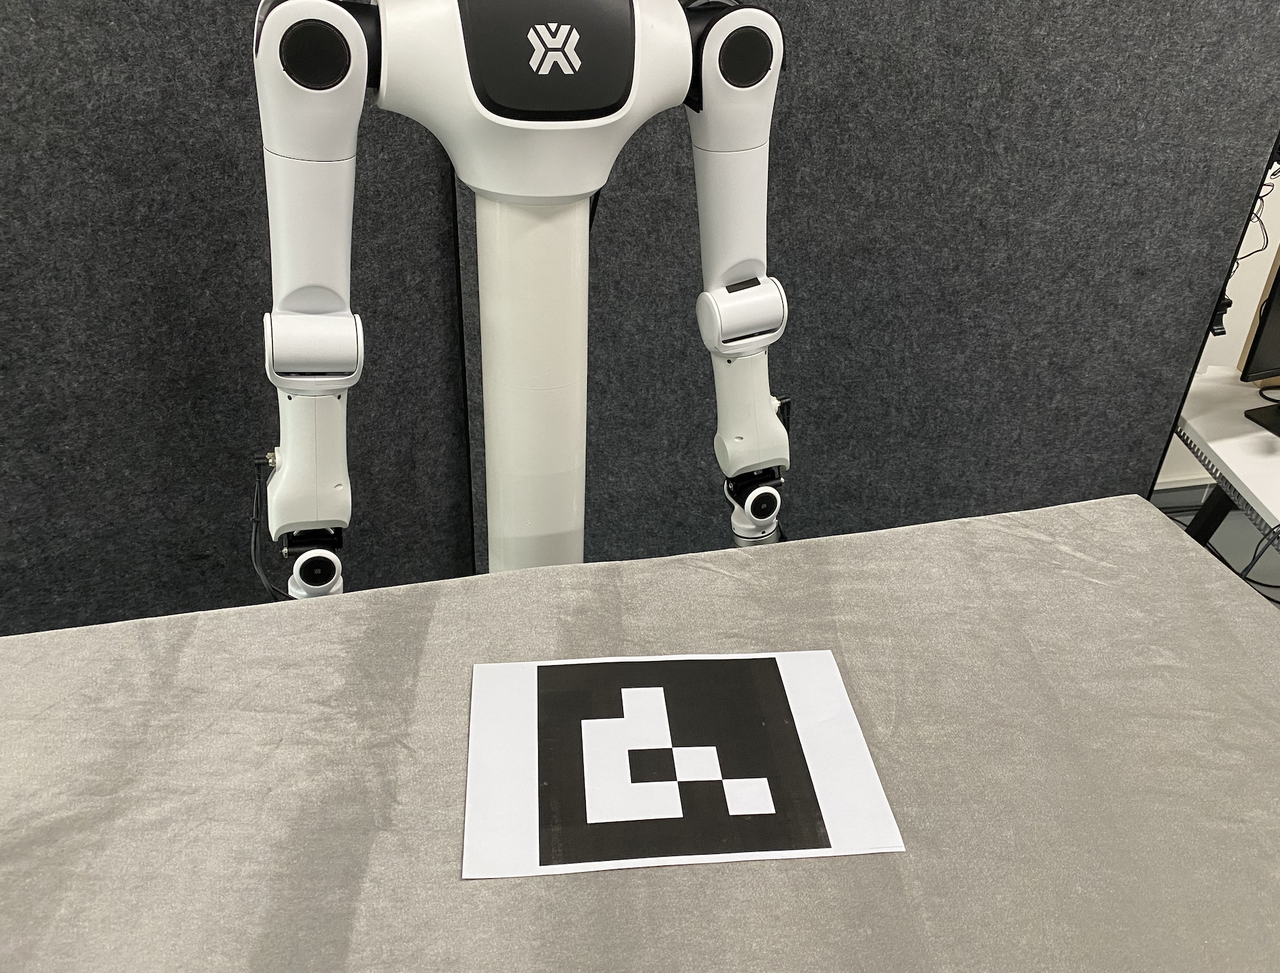
-
Executing the client side of the grasping controller
Open a new terminal and sending grasping instructions:
cd ~/tien_project/start_process/tienkung
bash start_client.sh
-
According to the objects placed in the scene, input the corresponding English name and press enter to execute.

- Try to add some descriptive words, such as: red can, green bottle, etc.
- If there is misrecognition grasping or no object, you can try a different description
-
Where you want to place the object after grasping, make a selection:
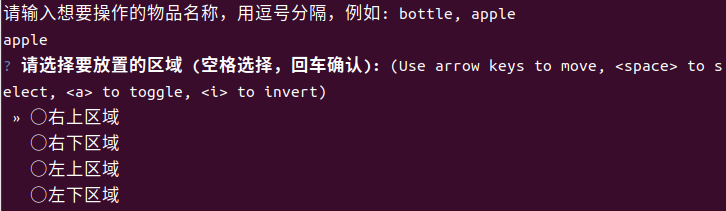
Shutdown
-
If the robot has not yet returned to zero position, first select to return to zero position according to the steps below
# First, in the start_server.sh window, close that server, press control c then re-execute
cd ~/tien_project/start_process/tienkung
bash start_server.sh

Wait for execution to complete
-
Slightly raise the moving platform to make the rope slightly taut, then press C on the remote controller
-
Raise the robot to suspension
-
Run the following instruction:
# Note, once this script is executed, the robot will immediately fall to the ground, so before execution, make sure the robot is safely hanging on the moving platform!
cd start_process
bash stop_tienkung2pro.sh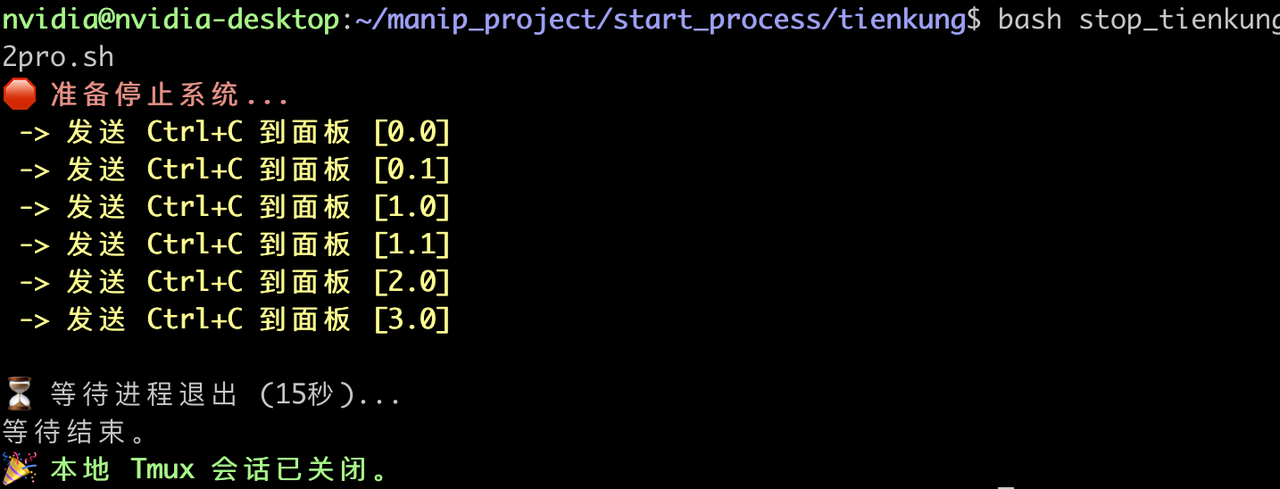
Wait for the countdown to complete
-
After the operation is complete, press the emergency stop button on the back of the robot
-
Turn off power, turn off the remote controller
-
(If there is) First unplug the charger from the socket, then unplug it from the robot