Walker S2 EDU Explorer Operation Guide
This document describes the basic flow for using Thinker studio v2.0.x with Walker S2 EDU Explorer for Pico teleoperation, data collection, and export.
For general installation configuration, service management, and Pico-side operations, please refer to:
Applicable Environment
| Item | Requirement |
|---|---|
| Target Machine | PC with Ubuntu 22.04 |
| System Architecture | amd64 |
| Hardware | Recommended memory ≥ 32 GB, minimum 16 GB |
| Installation Package | deb/thinker-studio_2.0.35_amd64.deb |
Network Configuration
After connecting the target machine and Walker S2 EDU Explorer with an Ethernet cable, ensure both sides are on the same network segment.
Walker S2 EDU Explorer factory network segment:
192.168.11.xConfigure the target machine's physical Ethernet port to a static IP in the same network segment, for example:
IP Address: 192.168.11.100
Subnet Mask: 255.255.255.0
Use the following command to check whether the target machine can access the Motion board:
ping 192.168.11.2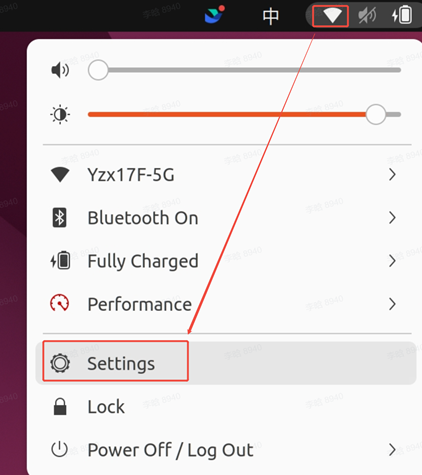 Ubuntu wired network configuration entry
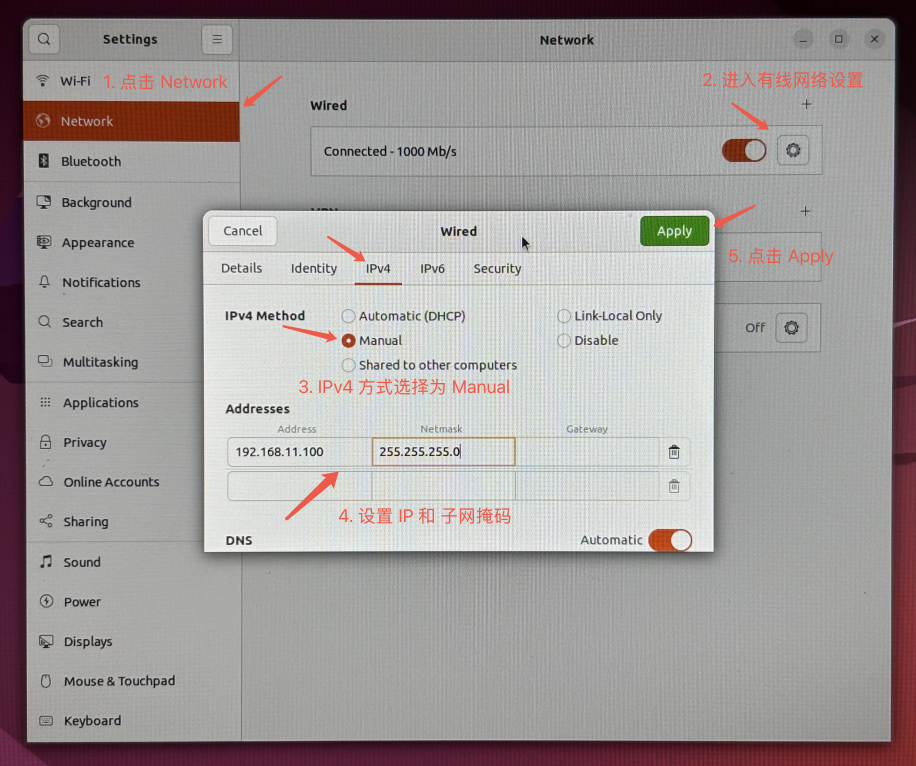 Ubuntu IPv4 manual configuration example
Robot Body Configuration
When using Walker S2 EDU Explorer for data collection, you need to use the corresponding body version and body data collection script. Before starting, please confirm that the body configuration is correct.
- Body Version: Check on the
192.168.11.3web interface to confirm that the robot is the teleoperation version with version numberwalker-s2-0001-1-1002-DAC-v0.6.15. If the version does not match, reflash the package. - Body Data Collection Script Deployment: Deploy the
collectorbody data collection script to the Walker S2 EDU Explorer vision board (192.168.11.3).
For detailed deployment instructions, please refer to the Walker S2 Data Collection Package Workflow.
Pre-use Preparation
Please confirm:
- The target machine has Thinker studio installed.
- The target machine has completed network configuration and can access
192.168.11.2. - Walker S2 EDU Explorer is powered on and homed.
- Pico and remote controller are ready.
Note: Before startup, confirm that the firewall on the target machine is disabled. If the firewall status is
active, disable the firewall first.Check the firewall status:
sudo ufw statusDisable the firewall:
sudo ufw disable
Select Robot
Find the Thinker studio icon in the application center on the target machine and click it to open the client.
On the robot selection page, select "Walker S2 EDU Explorer" to enter the teleoperation page.
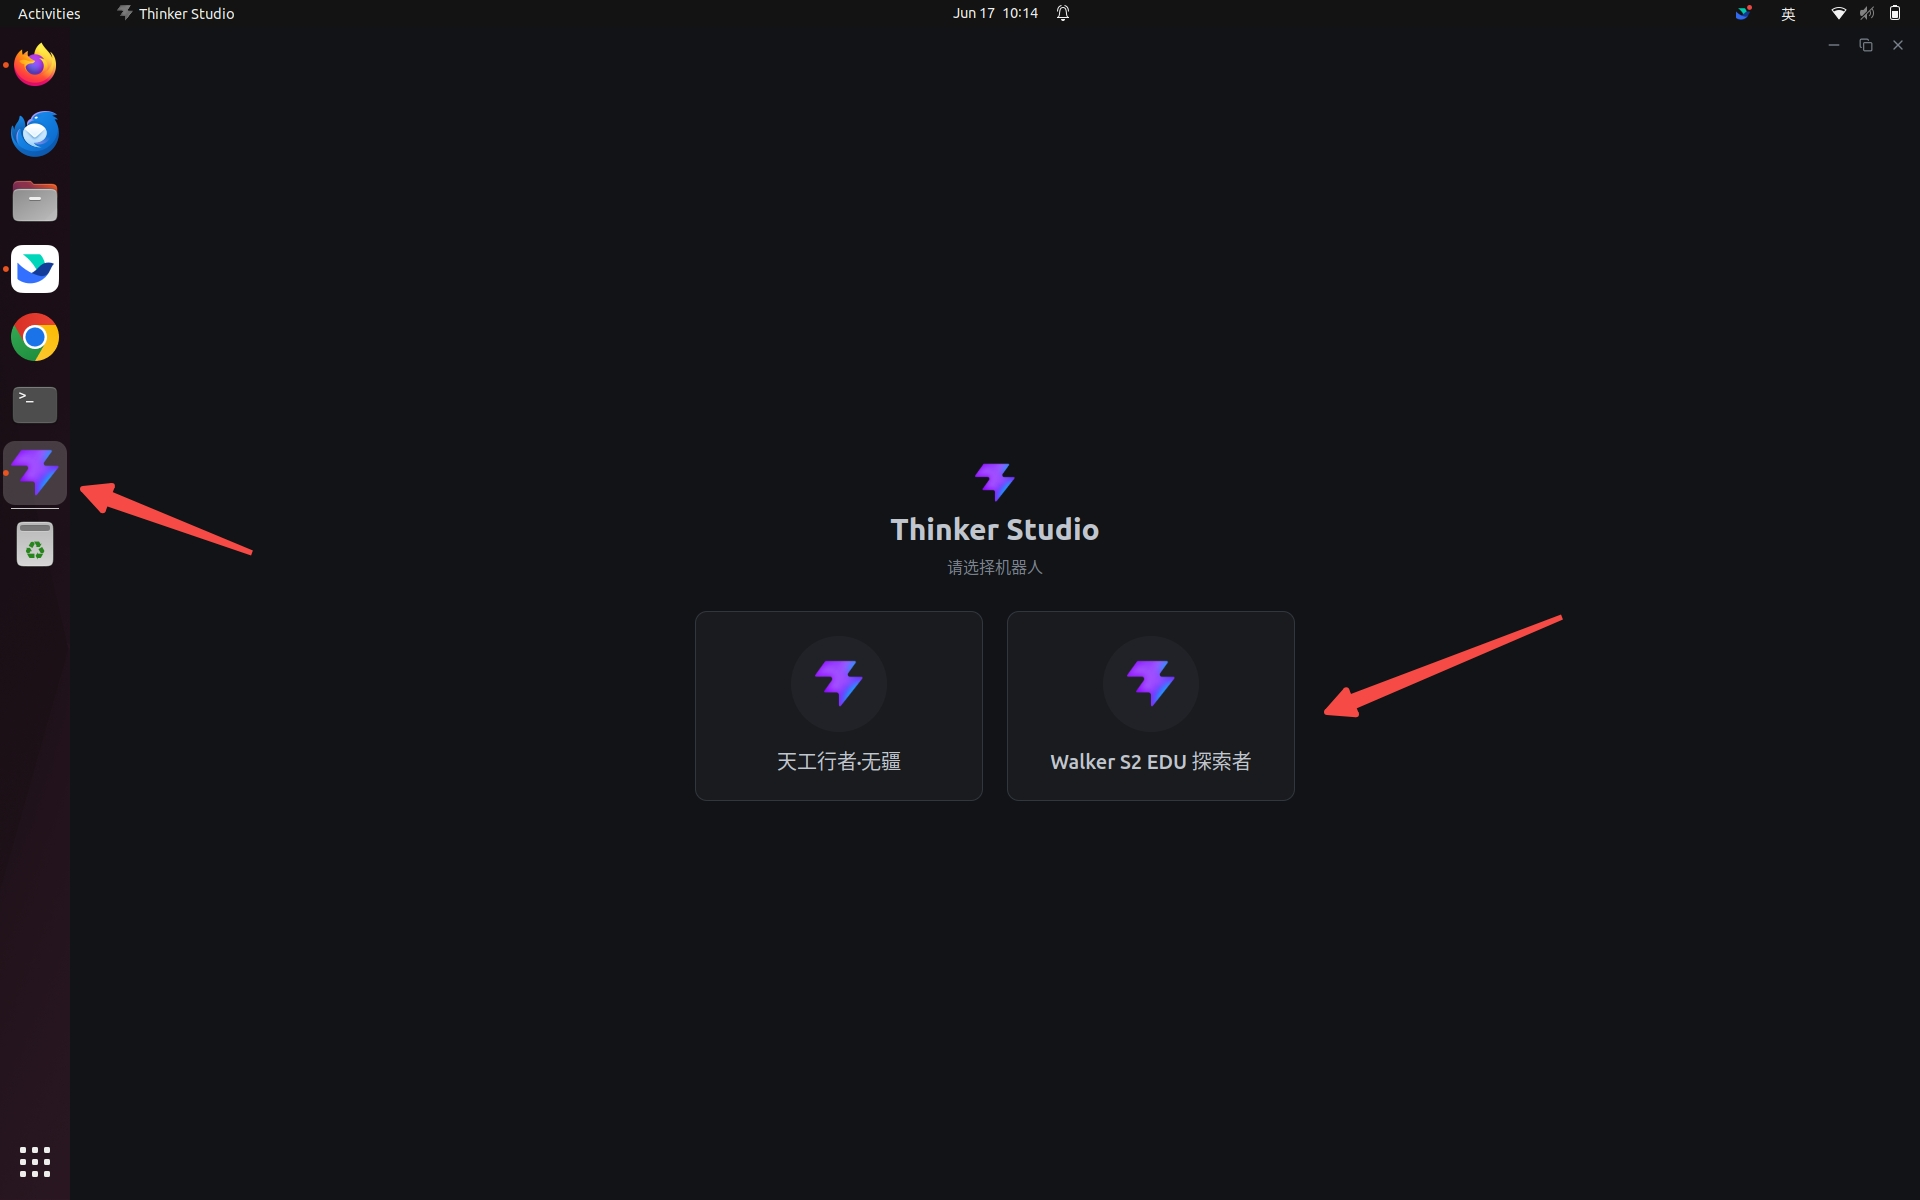 Thinker studio client icon
Start Pico Teleoperation
Start UBT-Controller
Start the UBT-Controller service in the Thinker studio client. This service is used to receive tracking and control data sent from the Pico side. After the service starts, keep the client page open.
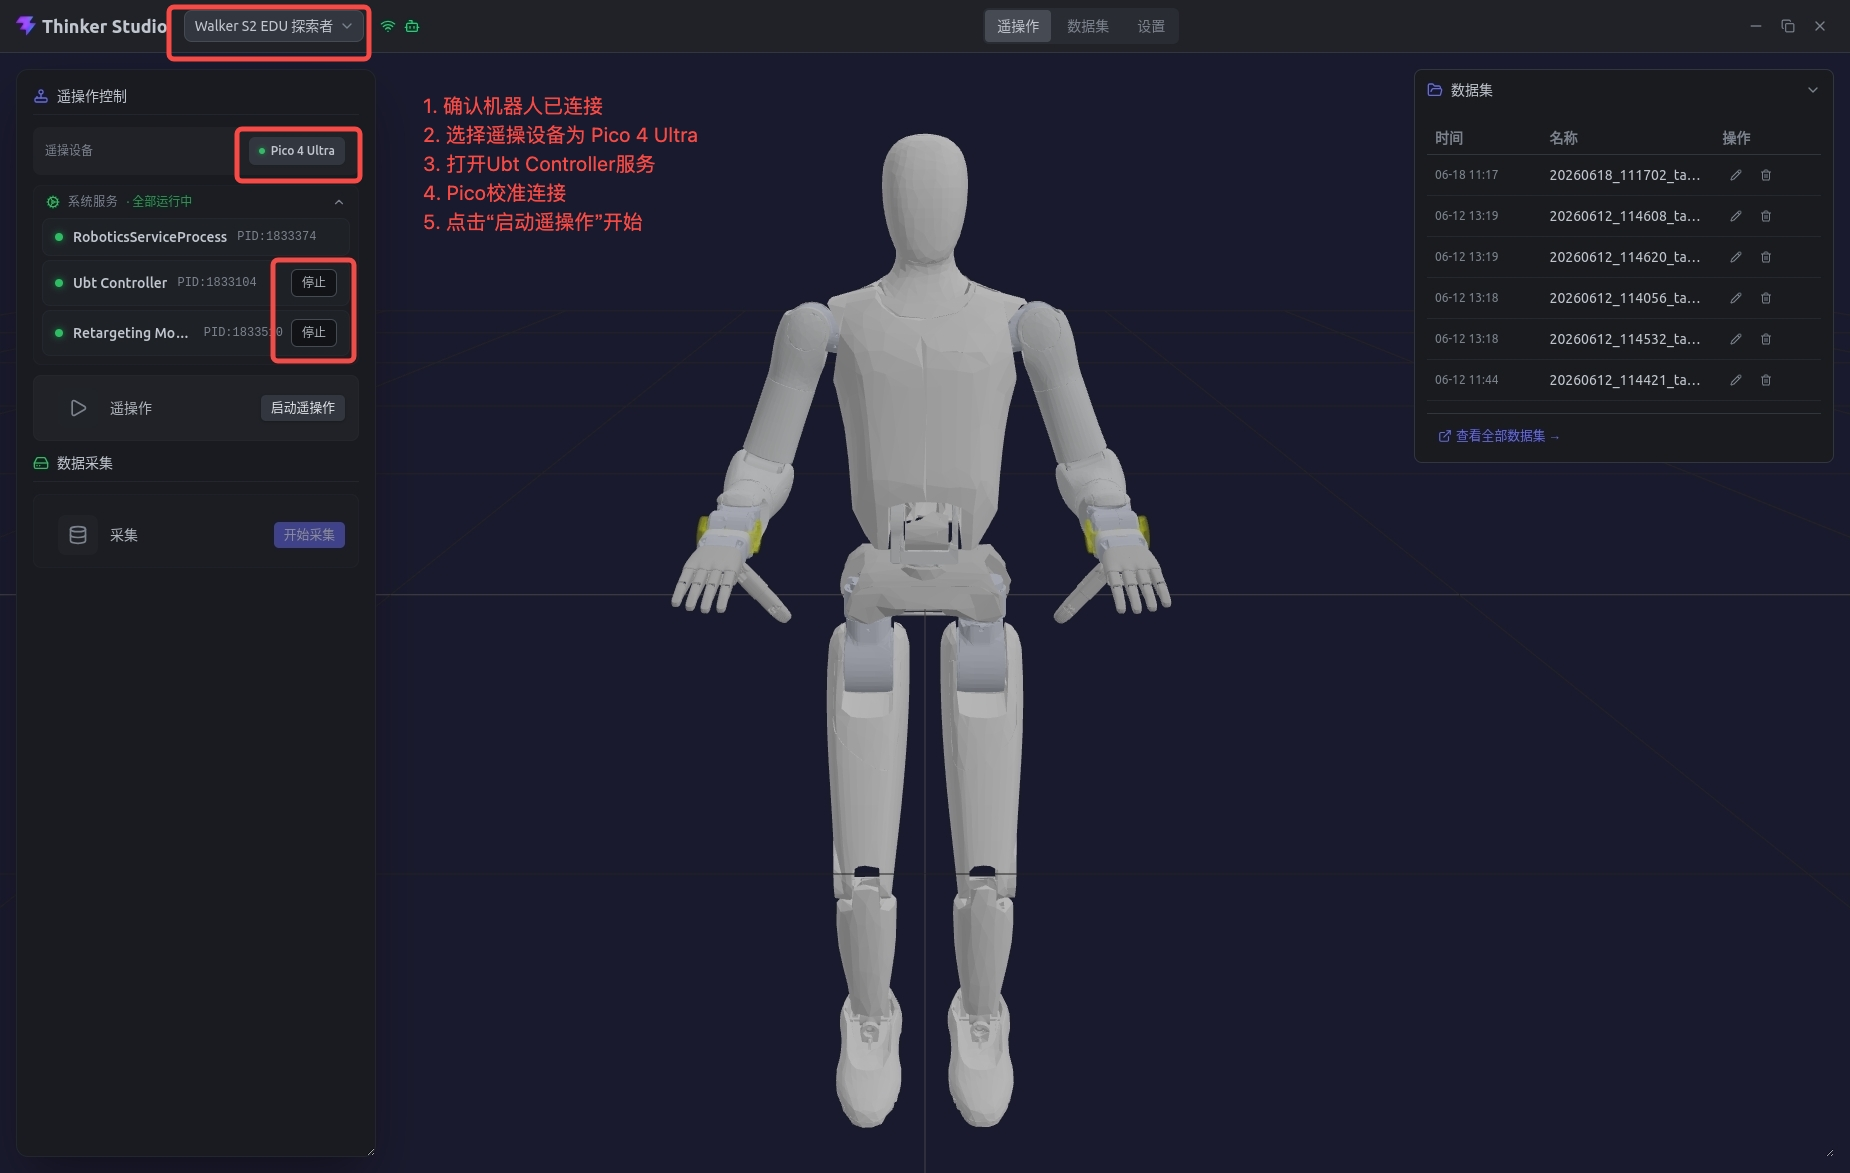 Start UBT-Controller
Pico-side Operations
For tracker wearing, XRoboToolkit connection, checking Send, and other Pico-side operations, please refer to the Pico Operation Guide.
The Pico controller button functions for Walker S2 EDU Explorer are as follows:
Y: Switch to teleoperation mode.Grip: Hold to follow; release to disconnect following.Trigger: Hold to close the gripper; release to open the gripper.A: Robot homing.
Start Retargeting Monitor
Start the Retargeting Monitor service in the Thinker studio client.
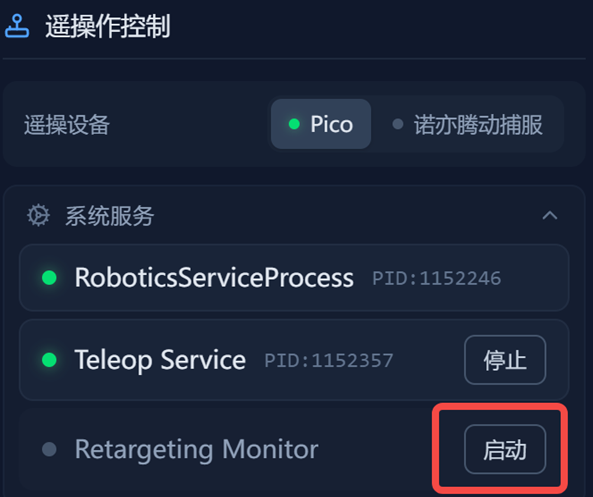 Start Retargeting Monitor
This service is used for motion retargeting monitoring during teleoperation.
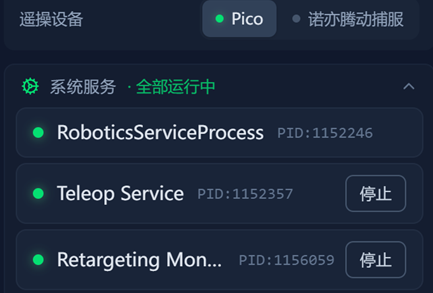 Retargeting Monitor running
Start Teleoperation
Click Start in the teleoperation area of the Thinker studio client.
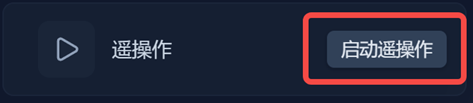 Click to start teleoperation
Safety Reminder
After clicking
Start, the robot will begin to follow movements. Please confirm that the robot's surrounding environment is safe and spacious, and avoid people or objects entering the robot's motion range before clicking.
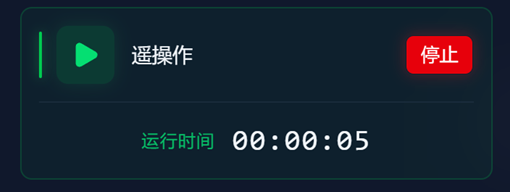 Teleoperation started successfully
End Teleoperation
When ending teleoperation, please operate in the following order:
- Click
Stopin the teleoperation area of the Thinker studio client. - Stop related services, such as
UBT-ControllerandRetargeting Monitor. - If you need to pause Pico control data sending, you can uncheck
SendunderData & ControlinXRoboToolkiton the Pico side.
Data Collection
Data collection is used to collect camera data and arm joint angles.
Start Collection
Safety Reminder
Before starting data collection, please confirm that the robot's surrounding environment is safe and spacious, and avoid people or objects entering the robot's motion range.
Click Start in the data collection area of the Thinker studio client to begin collection.
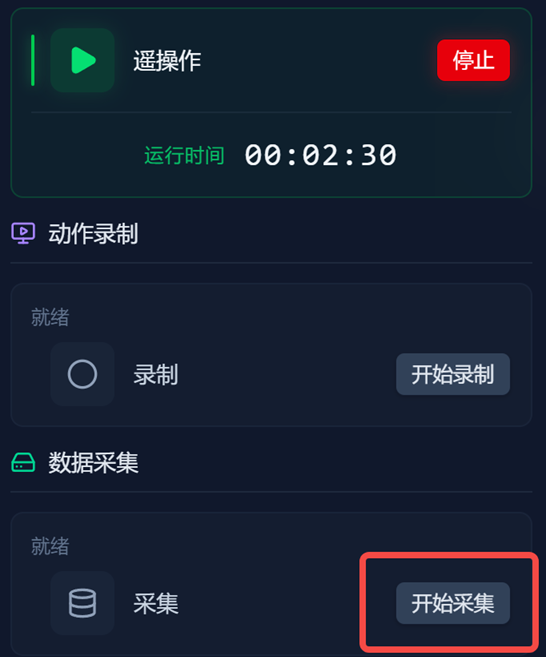 Start data collection
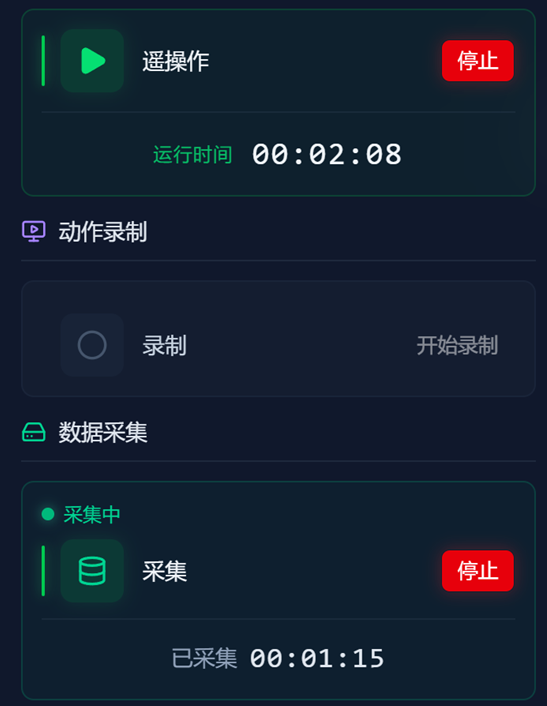 Data collection started successfully
End Collection
Click End in the data collection area to stop collection.
After successful collection, the collected data will be displayed in the collection history area on the right.
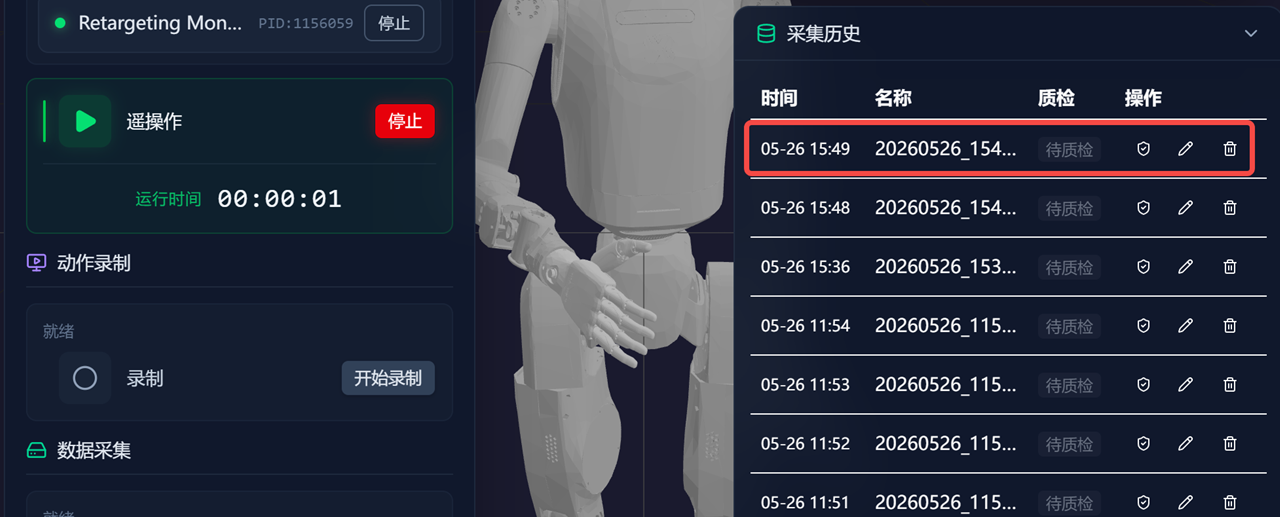 Collection history
Data Quality Inspection and Export
Data Quality Inspection
After collection stops, the current collected data will be automatically quality inspected on the robot body and exported in HDF5 format. Processing progress can be viewed in real time on the Dataset page of the Thinker studio client.
Note: Do not disconnect the target machine from the robot before data processing is complete, as this may cause transmission interruption or data loss.
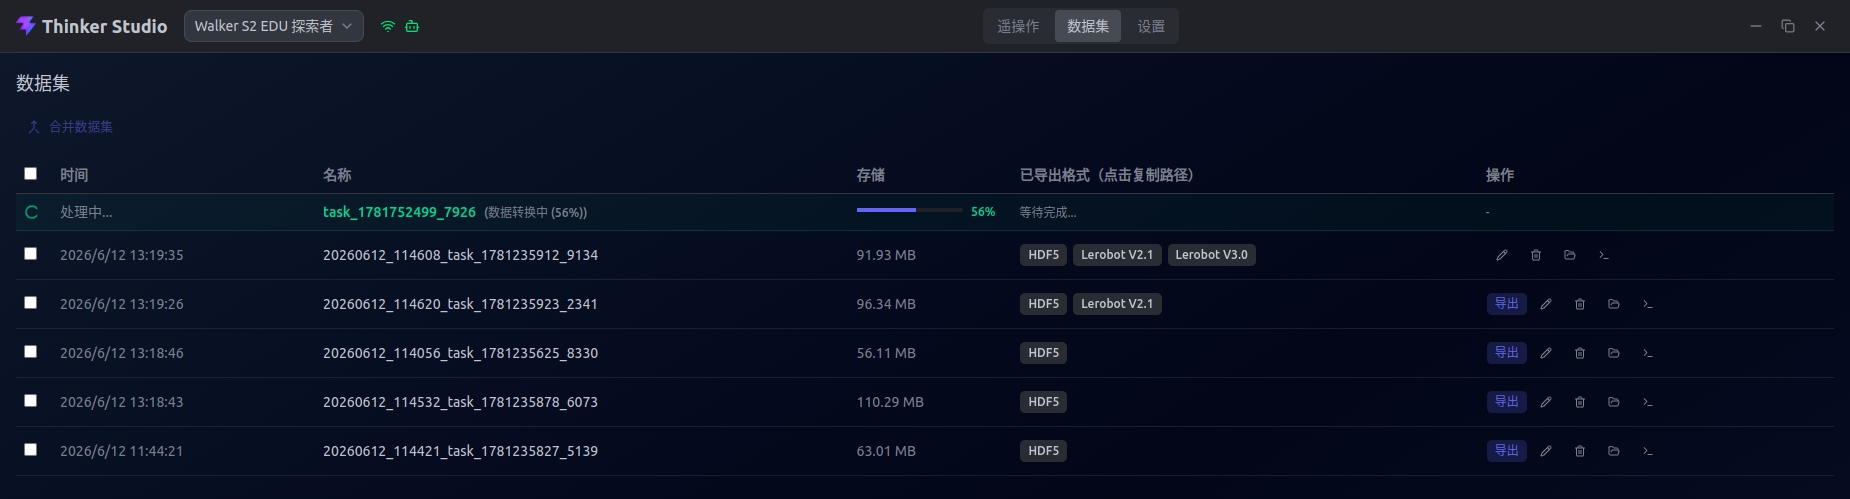 Data processing
Data Export
Data that has completed quality inspection will display an Export button.
After clicking Export, select the desired export format. The larger the data volume, the longer the export time.
After successful export, refresh the page. The page will display the exported data directory, and you can click to copy the directory path.
FAQs
Robot movements do not match reality
Long-press the right controller home button to recalibrate.
Pico is connected but the robot does not follow movements
Check whether Send under Data & Control in XRoboToolkit on the Pico side is checked.
When Send is not checked, Pico will not send control data.